Please enter your e-mail address and select your state of residence.

Bannock Corn Bread

February 5th, 2014

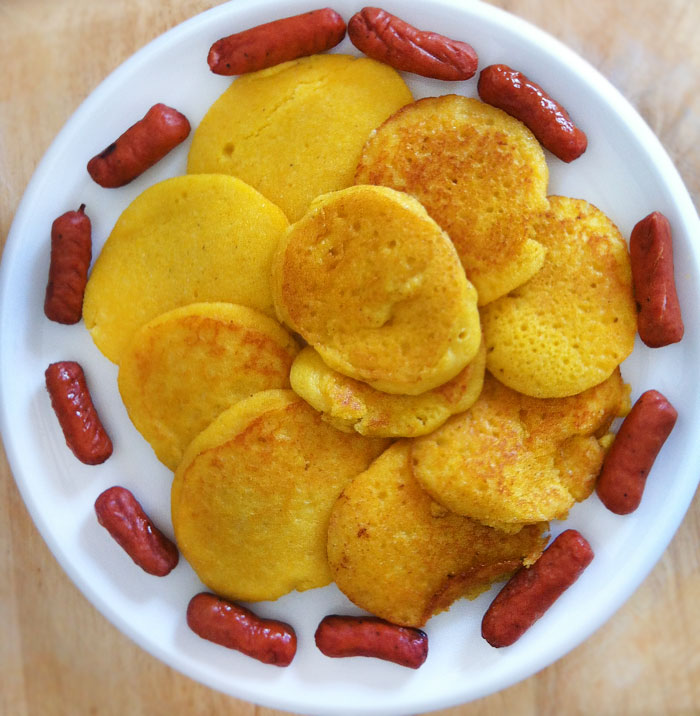
Today my boys and I had a snow day and decided to make something from my 5th grader’s history text book.  there was a recipe for Bannock bread so we thought we would go for it!  This was a bread that the pilgrims made during colonial times.  Our recipe  was made out of cornmeal but there are a number of different kinds which include regular flower and yeast.  I have to say, I don’t use cornmeal a lot since we try to limit our carb intake.  However, I thought… why not?!  It turned out surprisingly good and we coupled the cakes with low-sodium turkey sausages.  The boys really liked them and had a very filling lunch on a cold snowy day.  We even left a few for my husband who will be enjoying them with the leftover chili from Super Bowl Sunday.  Here’s the recipe, in case you are interested!  A great bread to make with your kids.

bannocks

INGREDIENTS

1 cup water
1 cup cornmeal
1/2 tsp salt
1/2 cup of milk
1 egg
2 tbsp butter

PREPARATION

1) Bring water to a boil.
2) In another bowl, mix cornmeal and salt together. Add boiling water and stir with spoon until smooth. Sir in milk. Let batter sit 5 minutes and then add egg and mix.
3) Melt butter in a frying pan over medium heat. Use a spoon or small ladle to drop the batter on to the pan and cook until golden brown. Flip and cook other side. Serve hot or cold.

My Super Bowl Snakadium

February 3rd, 2014

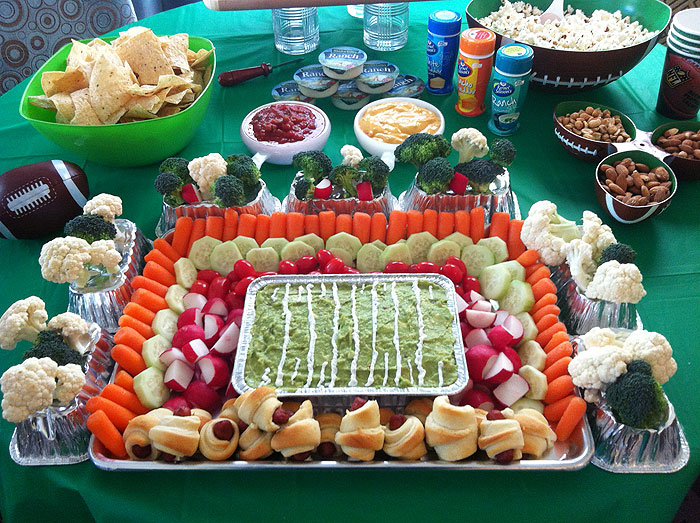
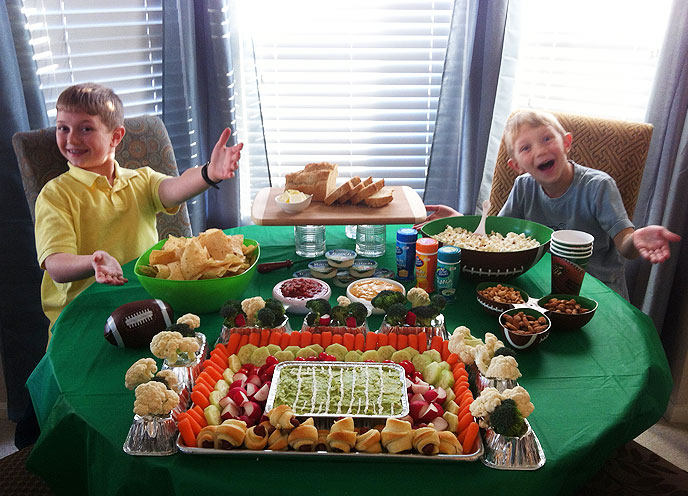
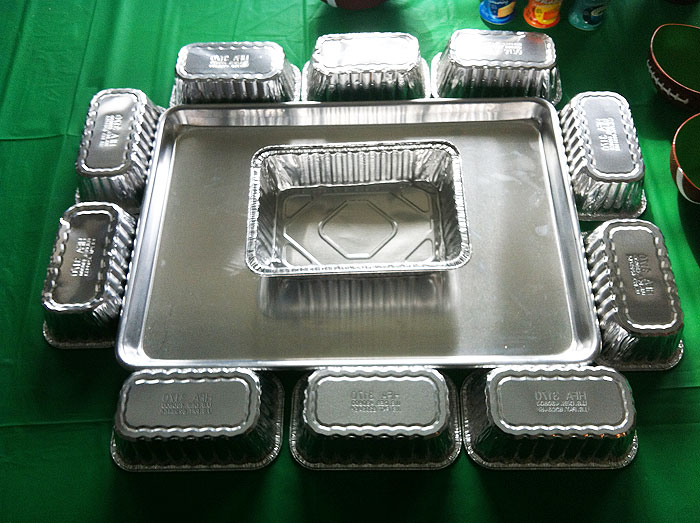
Two things I loved about yesterday’s Super Bowl… Bruno Mars and my healthy Snackadium which my kids helped me put together! Below are some photos of our snack table, we also had delicious white chicken chili, which our friends brought, and a spicy beef chili which I made (for the first time!). However, the Snackadium stole the show!

The snackadium was made with veggies and pigs in a blanket made with turkey sausages and low fat croissants.  I also made a low-cal 7 layer dip using fresh salsa and low-fat sour cream.  I changed my layers around so that the fresh guacamole ended up on top.

snakadium-03

snakadium-02

snakadium-setup

Spring and Summer Place Settings

February 1st, 2014

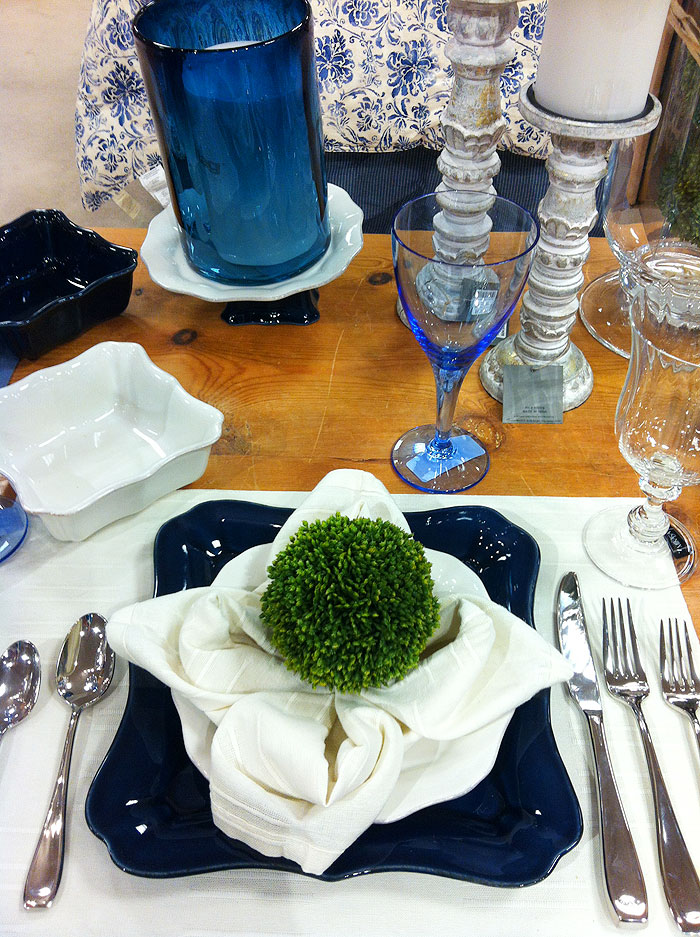
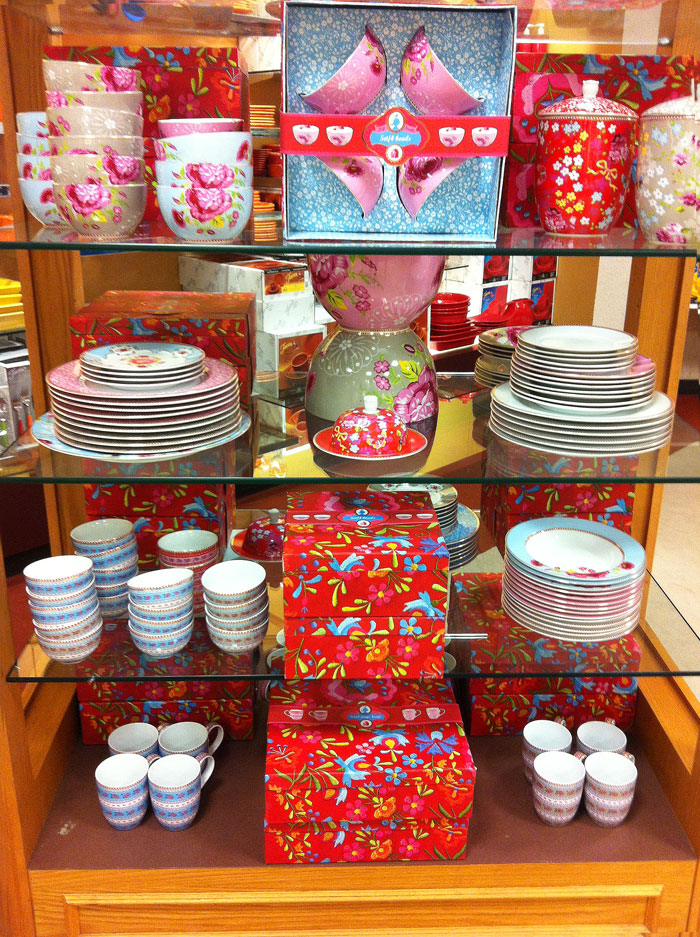
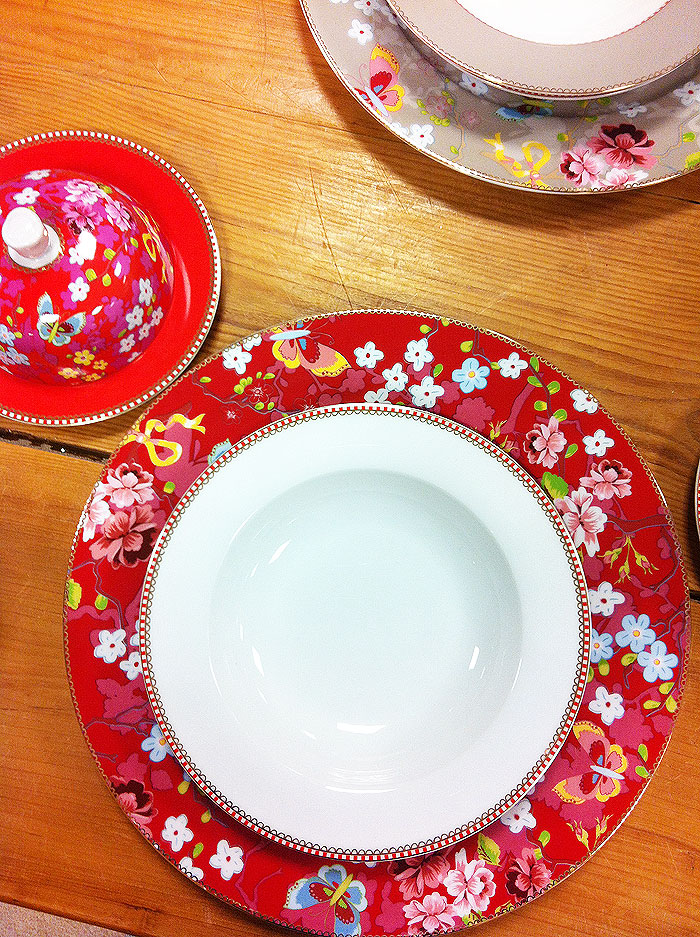
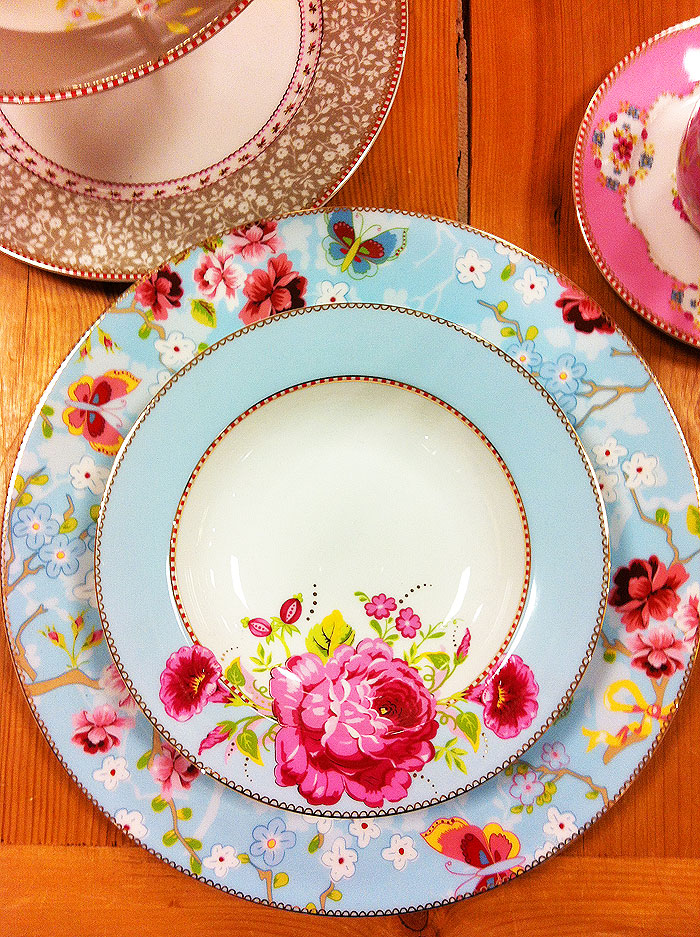
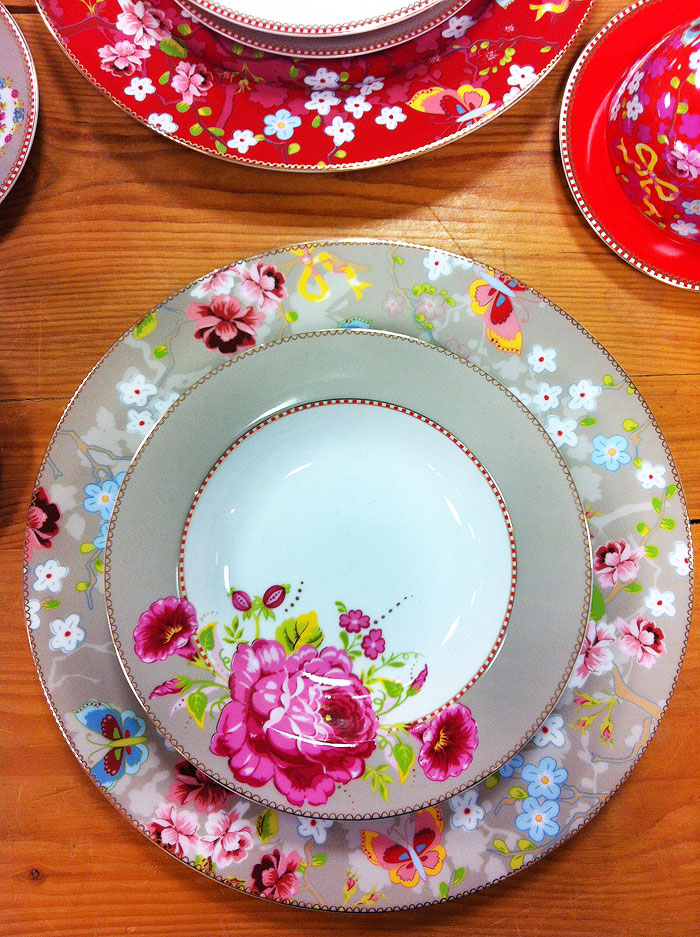
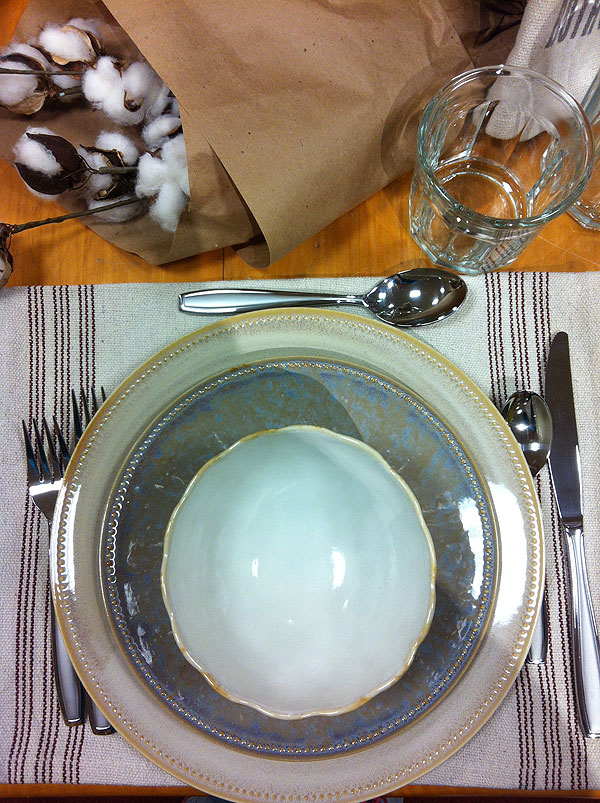
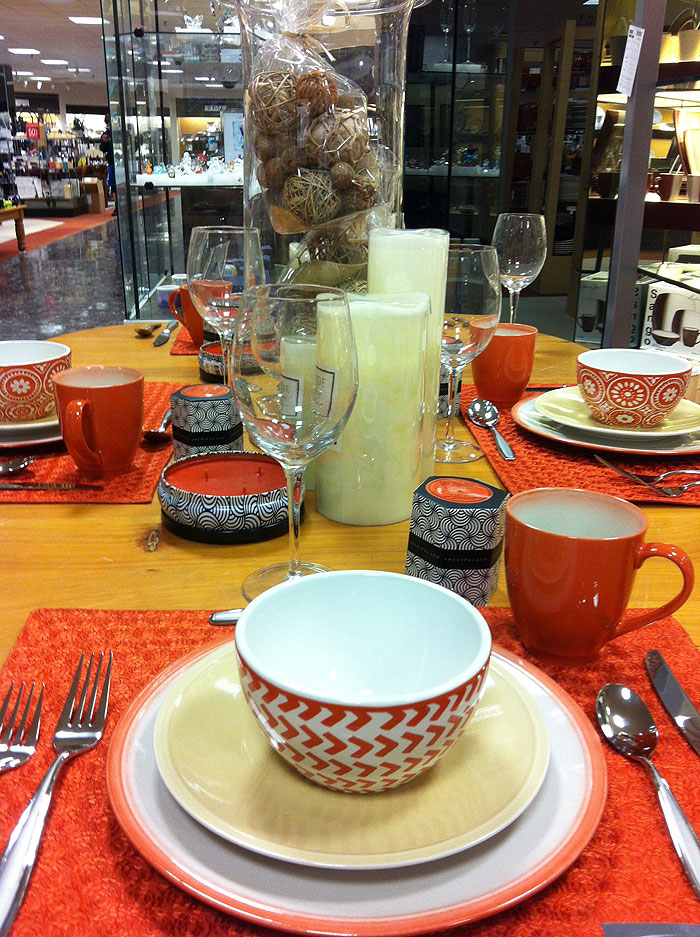
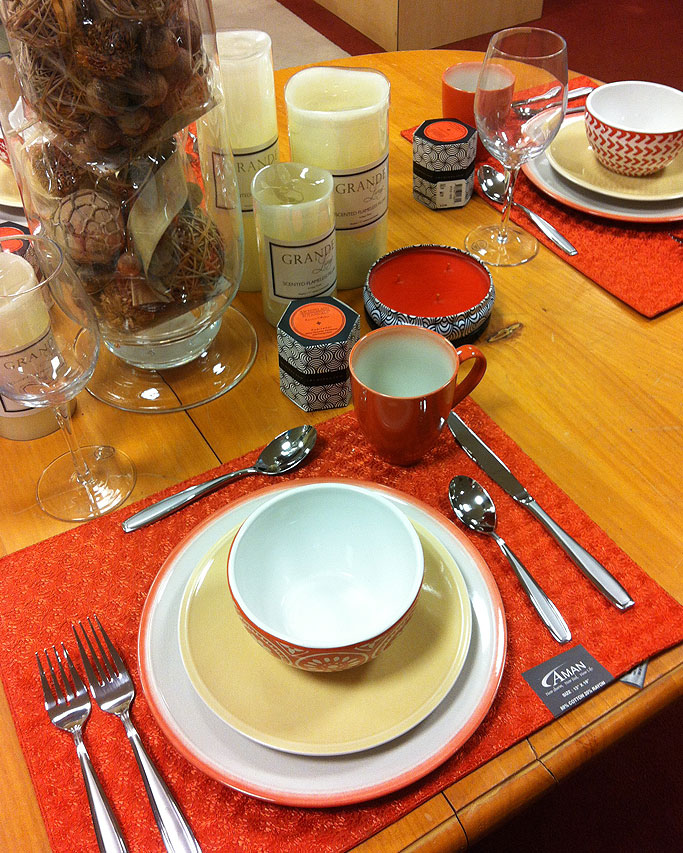
I’m always excited to find out what the latest trends are in table décor!  I stopped in at Dillards and photographed a few of their displays for spring and summer.  I like all these ideas, but my favorite are the floral plates… so pretty!

blueandwhiteplacesetting

floralplacesetting5

floralplacesetting4

floralplacesetting3

floralplacesetting2

floralplacesetting

neutralplacesetting

orangeplacesetting2

orangeplacesetting

Better Kansas City Segment on “Mobile” Super Bowl Snacks!

January 27th, 2014

superbowlsnacks
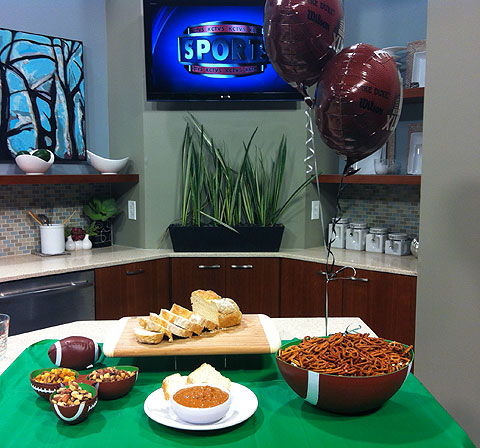
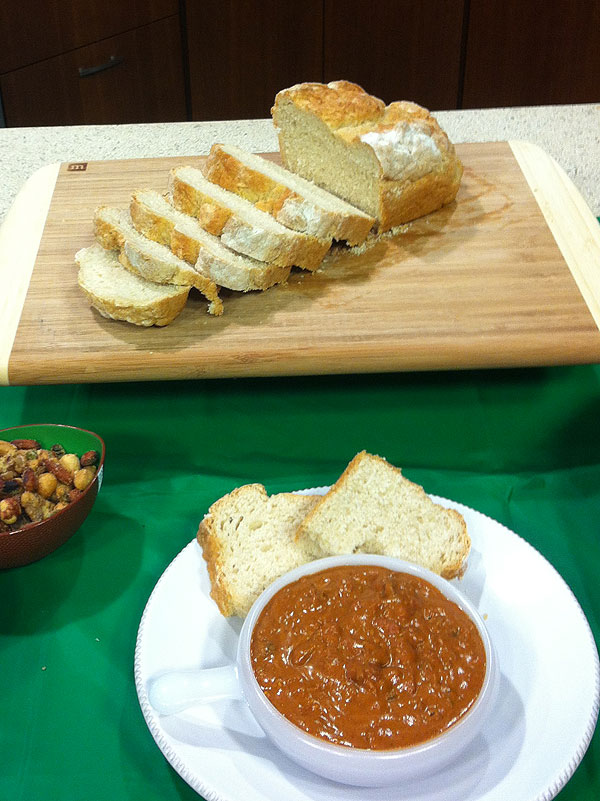
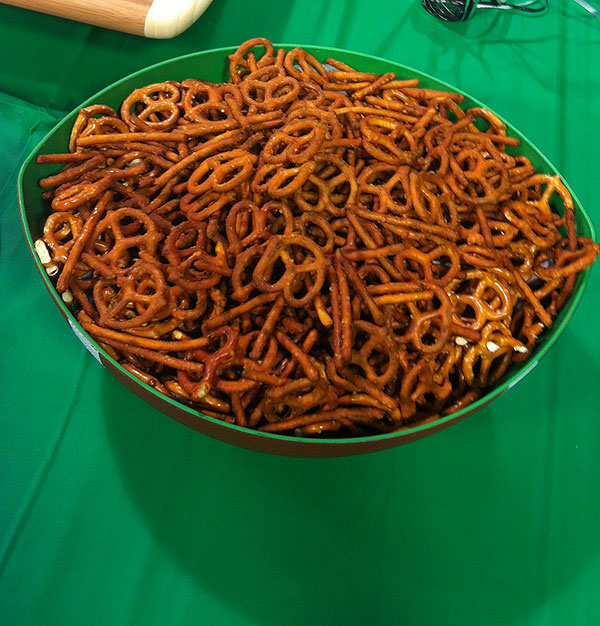
I had a blast today hanging out with Alexis and Dave from Better Kansas City Morning Show on Channel 4, here in Kansas City! I demoed three great “mobile” snacks to take to a Super Bowl party.  Hot Wing Pretzels… Roasted Flavored Nuts… and Hot Wing Pretzels!  All were super easy and with just a few ingredients!

arina

beerbread
BEER BREAD

3 cups of Self Rising (very important!) flour
3 tabspoons of sugar
12oz container of beer (any brand)

Pour beer into bowl. Then add flour and sugar. Mix until you have a dough
that is not sticking to the sides (you can add a little extra flour if you
like). You can place the dough directly in a well greased loaf pan. Or,
you can put the dough on a floured surface and knead it until you like the
consistency. Either way, your bread will be perfect (kneading or no
kneading).

Bake in the oven at 350 degrees for 55 minutes or until you see the top of
the bread get brown. Keep an eye on your bread because ovens can bake
differently. If you like, you can pour some melted button on the top of the
bread 10-15 minutes before it is done.

pretzels
HOT WING PRETZELS

1 bag of pretzel sticks or regular pretzels. Do not use large pretzel
sticks.
1/2 cup of Butter
1/2 cup of Hot Wing Sauce
2 Tbsp of Worcestershire Sauce
2 tsp Garlic Salt

In a pot, heat up the sauces and garlic salt. Once everything is mixed and
well heated, place the pretzels in a bowl and coat with hot sauce mixture.
Make sure that you coat the pretzels little by little, you don’t want there
to be extra sauce on the bottom of the bowl or a puddle on your baking sheet. Mix the pretzel sticks so they are well coated. Then place on a baking pan and bake on 300 degrees for 30
minutes, stirring every 10 minutes.

nuts
SEASONED NUTS

3 cups of any nuts or mixed nuts… make sure they are RAW!
1/4 – 1/2 cup of butter
Ranch, cheese, or any pop-corn seasoning. You can also use seasoning packs
made for salsas and dips.

Place your nuts in a bowl. Melt butter and pour it over nuts little by little. Mix well
until all nuts are coated. Then simply add your favorite seasoning… as
much as you like. Bake in the oven at 350 degrees for 7-10 minutes. KEEP
YOUR EYE ON THE NUTS SO THAT THEY DO NOT BURN!! After nuts are taken out of
the oven, sprinkle some more seasoning on them and wait for them to dry
fully 3-5 hours. Great to make a day in advance.

Christmas At The Wynn & Encore in Las Vegas!

December 27th, 2013

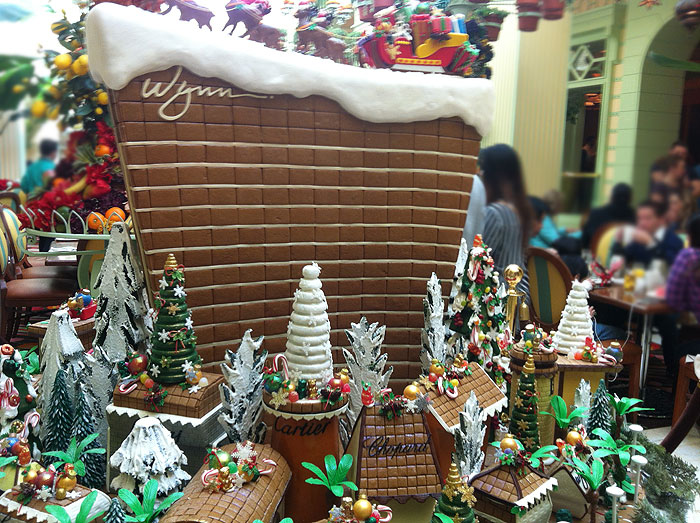
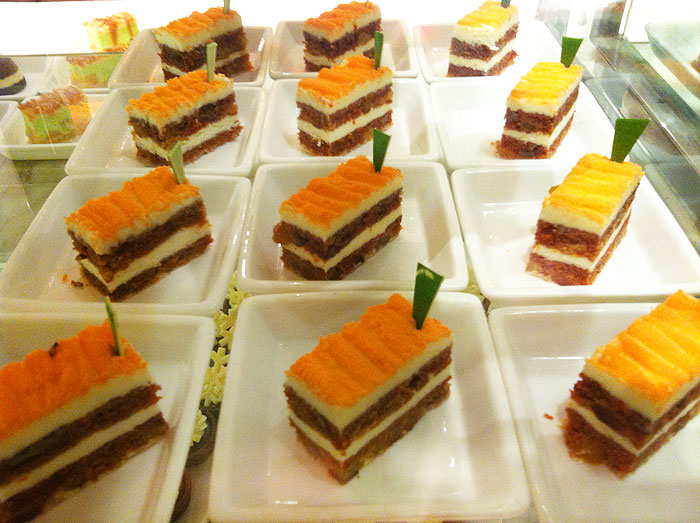
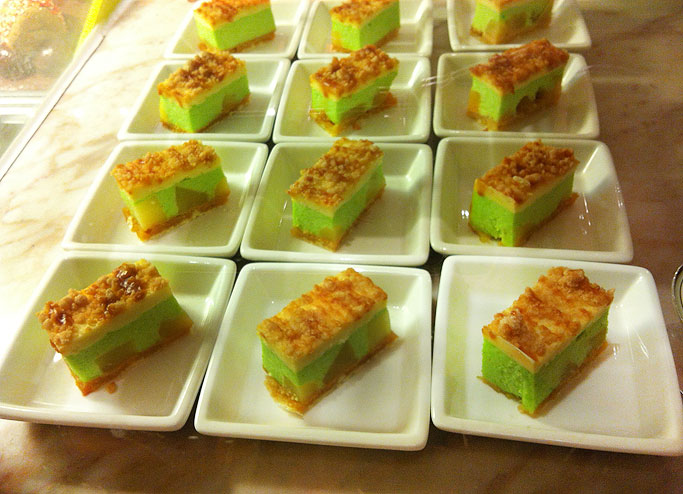
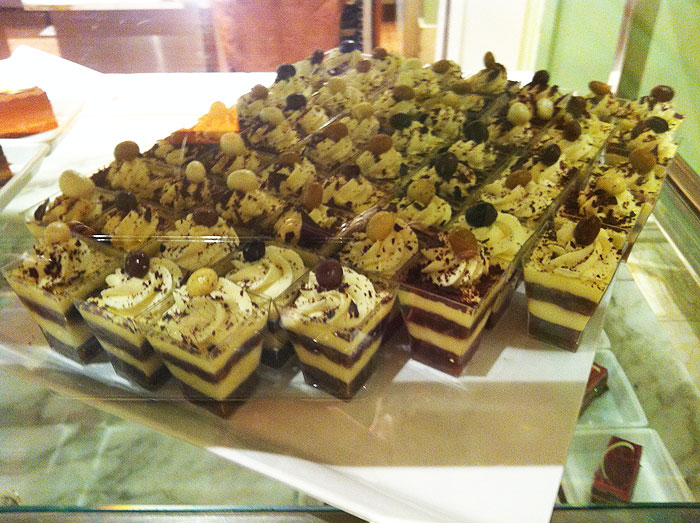
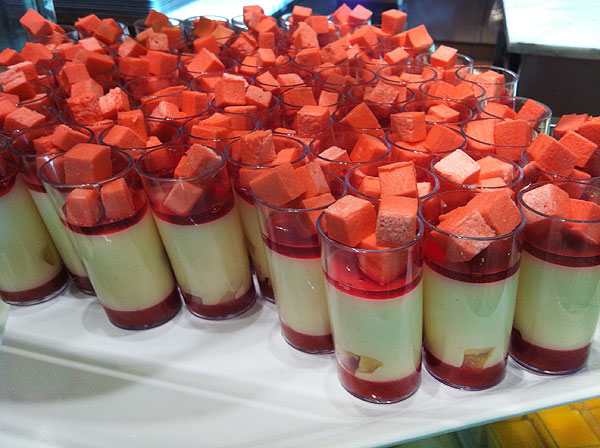
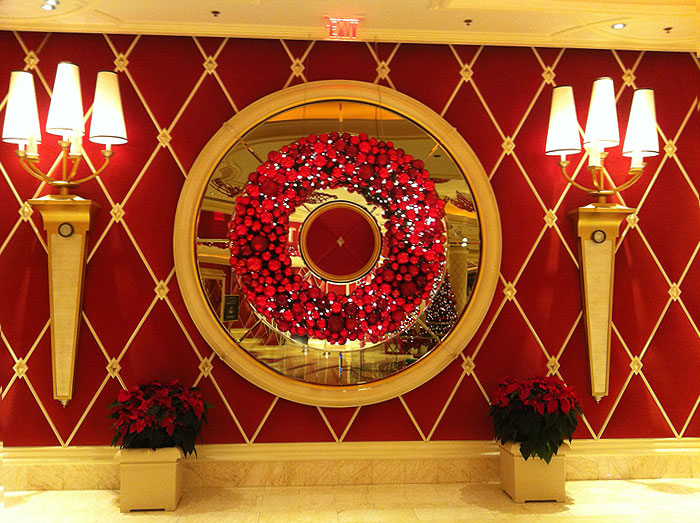
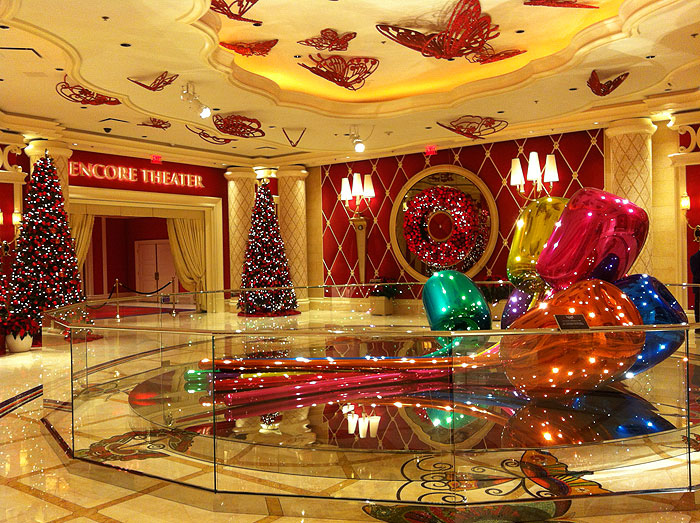
It was a very special year because my husband and I got to spend a day at the Encore and Wynn hotels in Las Vegas during our Christmas holiday.  We let the kids hang out with the grandparents in St. George, Utah for the day and ventured out to Las Vegas (which is only about a 2 hour drive).  Our stay at the hotel was spectacular and I’ve also posted photos of the beautiful room décor as well as some of the fun items we found while exploring the hotels.  But in this post, I wanted to showcase some of the beautiful holiday decorations which the Wynn is famous for.  We also had breakfast at the Wynn buffet and I captured some photos from their dessert bar… yes, the below desserts were all served for breakfast!!  Truly, it was eye candy!!!!

trees


gingerbreadhouse

carrotcakes


keylime

dessert-01

cheesecakes

wynn-01

tulips2

tulips

Christmas Table

December 8th, 2013

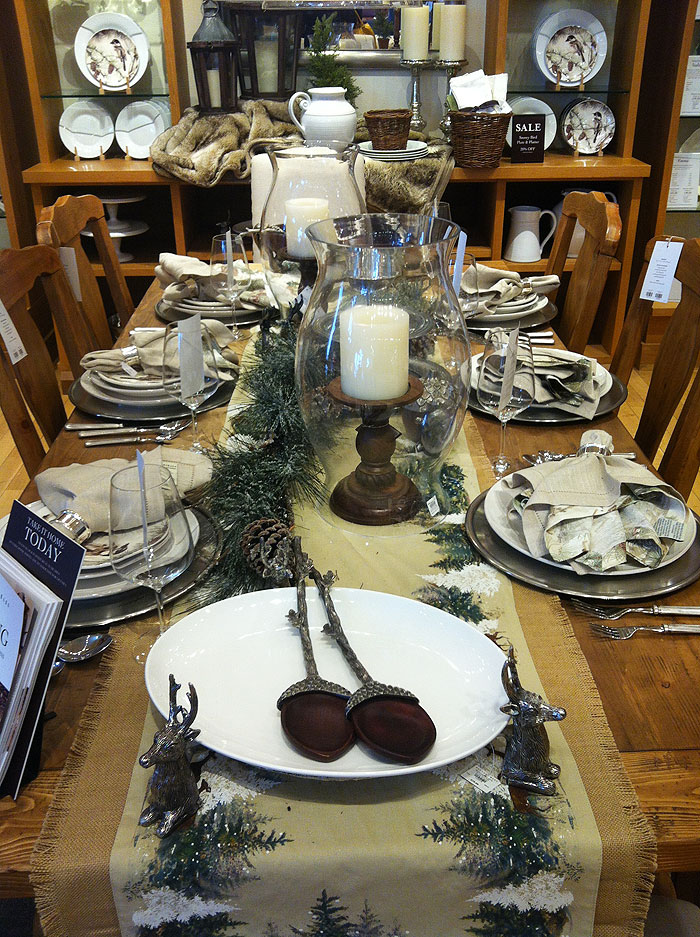
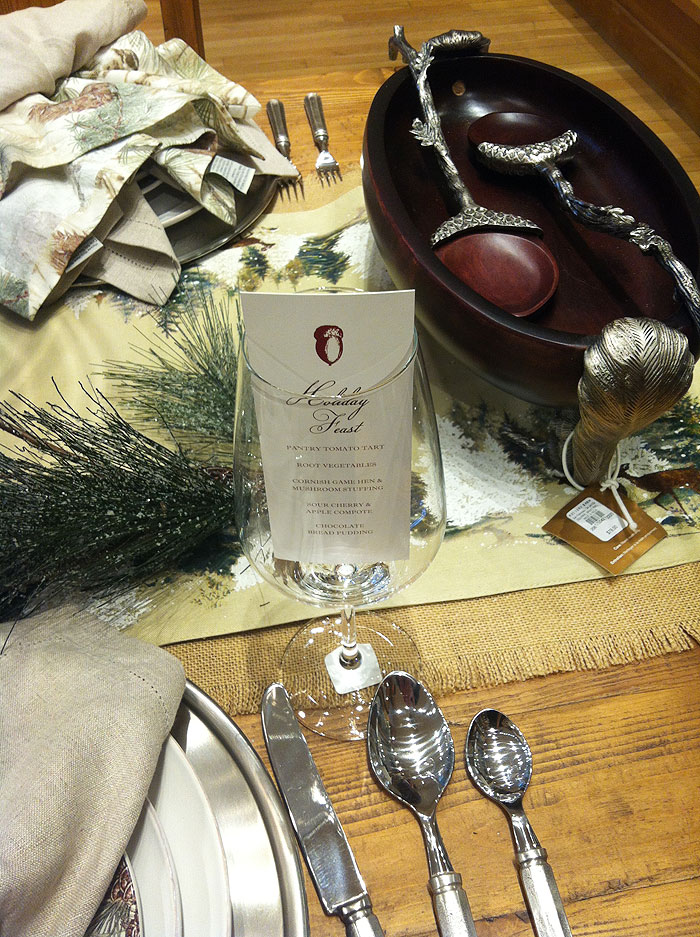
I’m loving this Christmas tablescape from Pottery Barn.  I especially love how they put the menu in the wine glass.  Simple yet so sophisticated!!

potterybarn-03

potterybarn-02

potterybarn-01

Kids’ Holiday Tables

November 1st, 2013

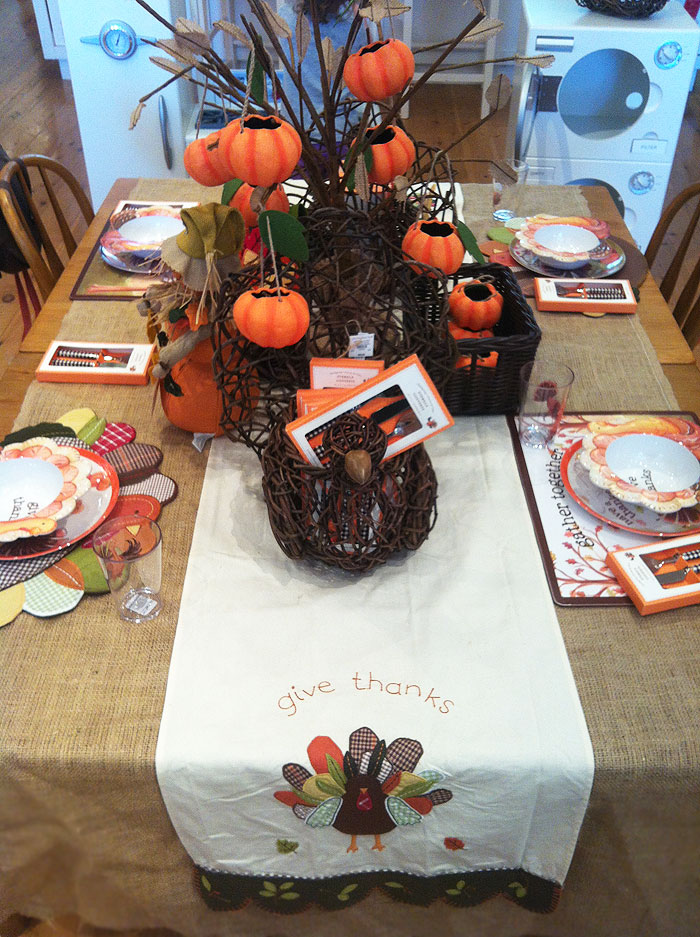
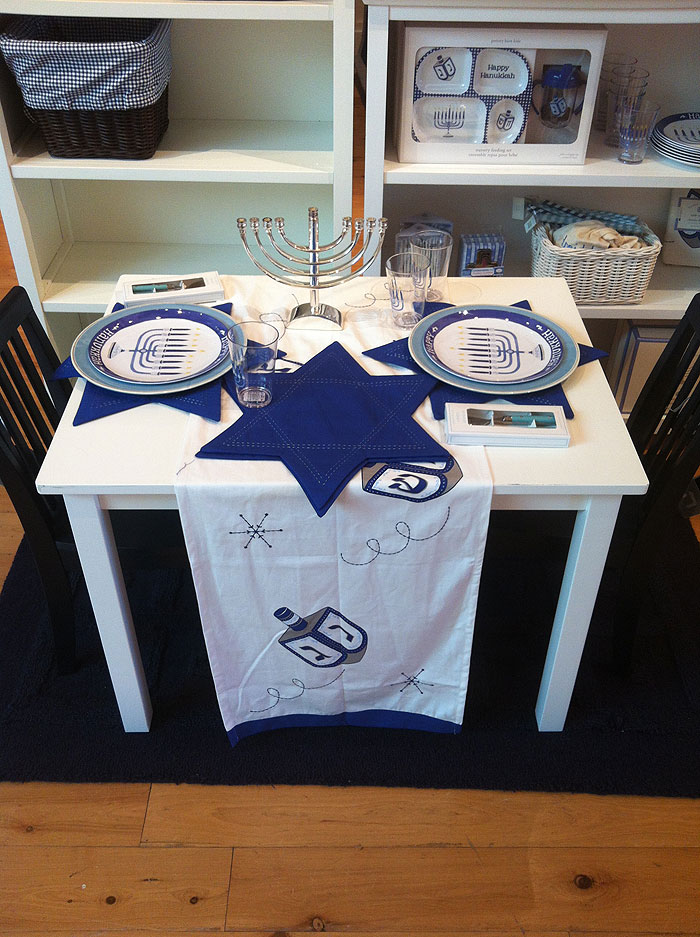
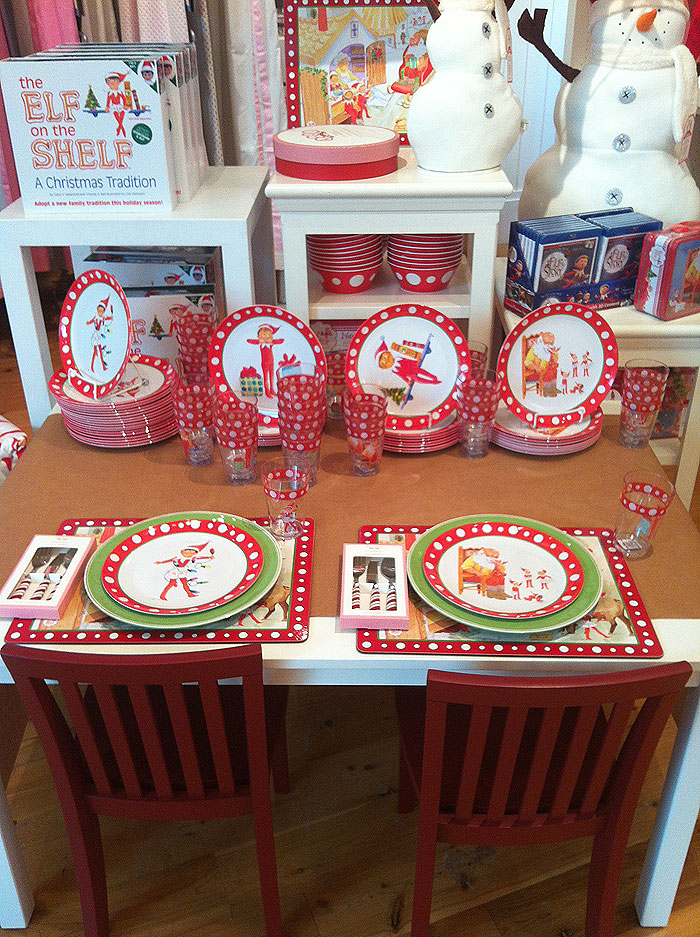
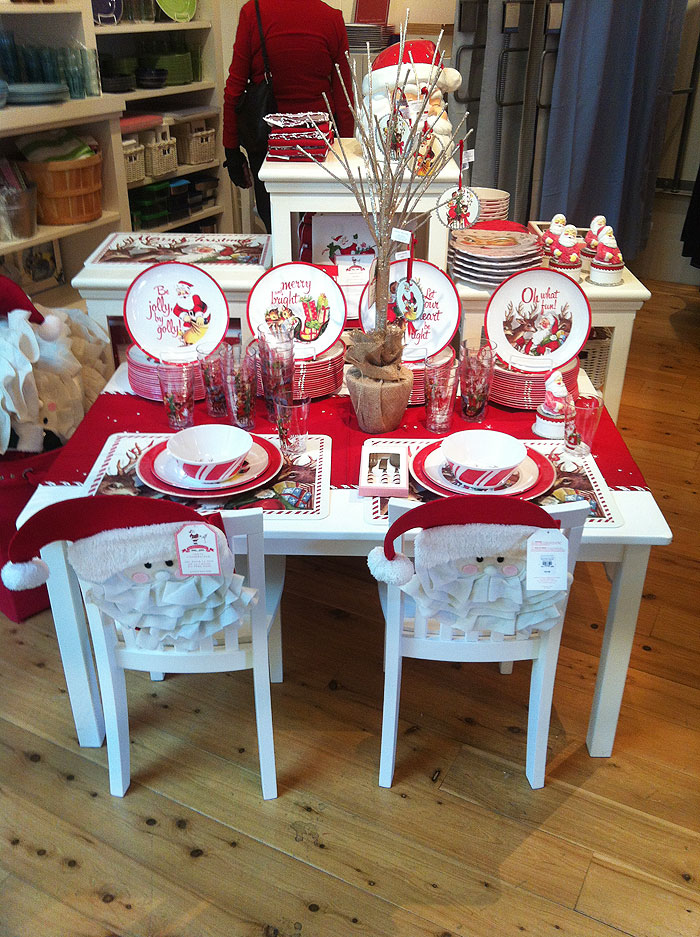
Well, it’s that time again!!  Time to decorate the mantle, the front porch, the trees, and of course, the dining table!  This is THE prime time for creative tablescapes and I always have my cell phone charged and ready to snap that perfect tablescape idea!  These tables were photographed at Pottery Barn Kids.  I know that whatever they show off at their store, will likely make it into many homes in America.  So here are their favorite picks for kids’ tablescape ideas!

Love this kid’s Thanksgiving table!  Especially since you can re-use the Halloween pumpkins in the centerpiece.

thanksgivingkidstable-01

Who wouldn’t want to sit at this Hanukkah table?! 

hanukahkidstable-03

My kids wait with such anticipation for their Elf On A Shelf , this would be perfect for them.

elfonashelftable-02

The santa chair covers are super sweet for this kids’ Christmas table!

christmaskidstable-04

Halloween Chocolate Covered Strawberries

October 30th, 2013

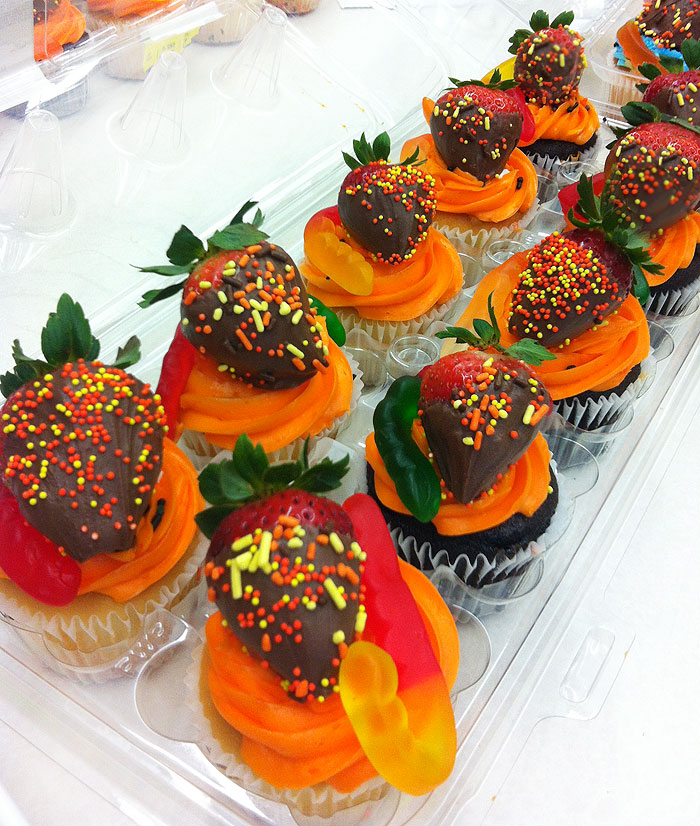
For my son’s School Halloween Party, I wanted to do something different, but didn’t want it to be too much work.  So, I decided to customize store-bought cupcakes.  All I did was dip some fresh strawberries in candy chocolate coating and sprinkle them with Halloween sprinkles. I placed each strawberry on top of the cupcake and  added a gummy worm… because all kids LOVE gummy worms!  The party snack was a success!!!

halloweenstrawberries

Pumpkin Patch Hummus and Carrot Appetizer (Revised!)

October 28th, 2013

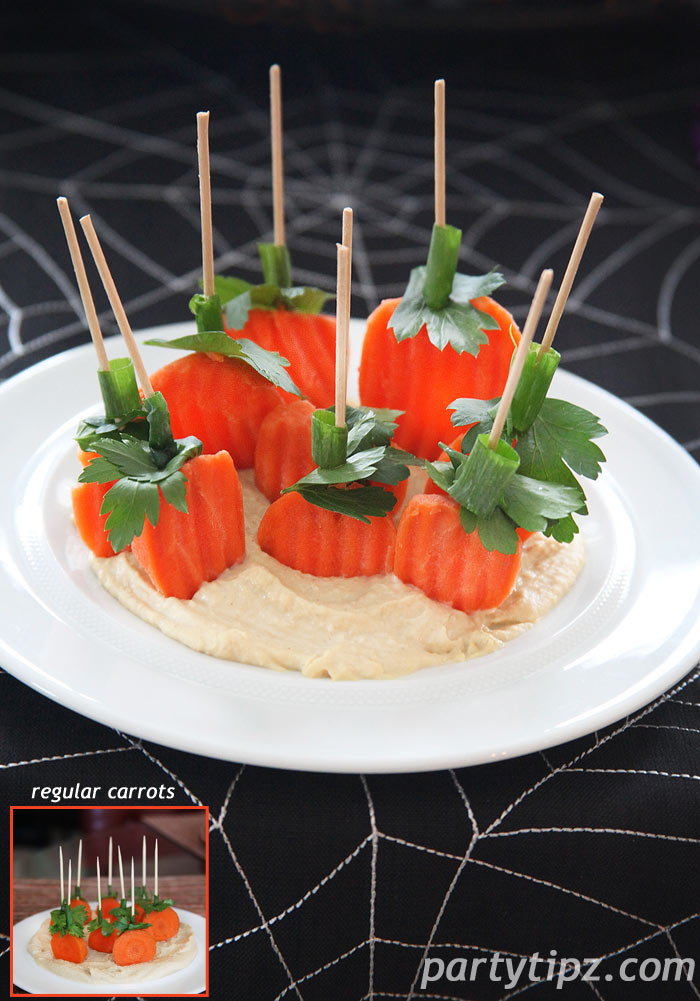
Last year I posted a wonderful appetizer…. Pumpkin Patch Hummus and Carrot Appetizer… it has been re-pinned on Pinterest almost 400 times.  I can’t take any credit for it, I too got it from another pinner and thought I would try it.  It turned out great, so I photographed it and shared it with everyone else.  Don’t you love Pinterest???!!!

However, this year I thought of an alternate version.  The taste and “concept” are still the same… you would use hummus, toothpicks, green onion, and parsley. The one thing that I did differently is that I used pre-cut carrots which are already sliced and bagged (available where baby carrots are sold).  They have those fabulous ridges that look very much like the ridges on a pumpkin.  Instead of buying regular carrots and cutting them, I was really happy with how the pre-cut ridged carrots worked out.  They won’t be as uniform and round as the carrots you would cut yourself, but neither are pumpkins.  So this may be the perfect option for someone who would like to take a short-cut but still have a fabulous appetizer!

carrotpumpkinpatch

Five Fun PEEPS Secrets To Help You Create Easter Crafts and Desserts

October 28th, 2013

peeps

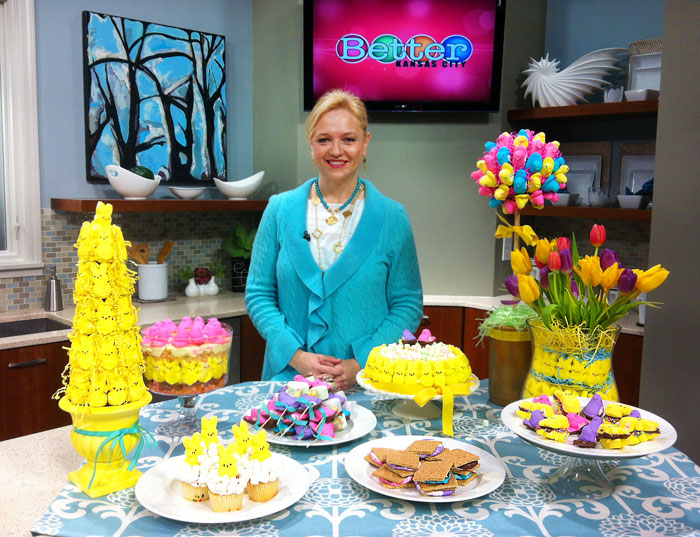
I had a great time showing off my fun PEEPS projects on Better Kansas City. To see the video segment, CLICK HERE

peeps-07

For some, PEEPS symbolize Easter, spring, and pure happiness! So whether you love them or hate them, these marshmallow molded sugar coated candies are one of the most popular treats in the United States! Over 4 million are created each day and 1 billion are made every year! Best of all, there is an endless variety of ways you can use them for snacking, baking, and even decorating. Here are my five favorite (super easy) PEEPS projects and the secrets to making them perfect!
peeps-10

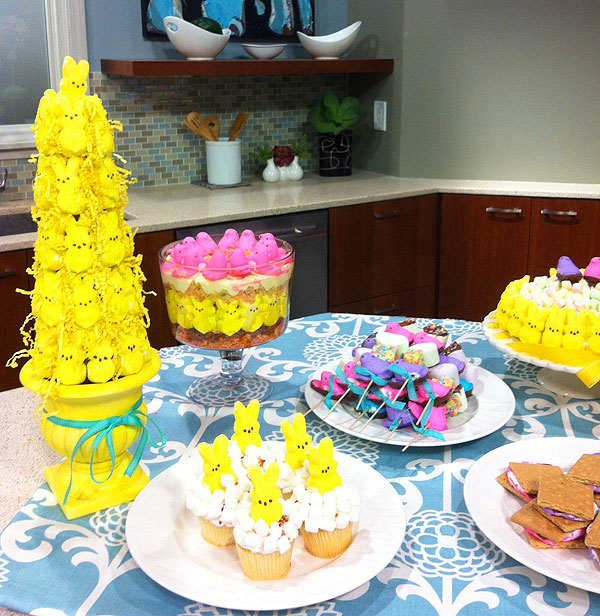
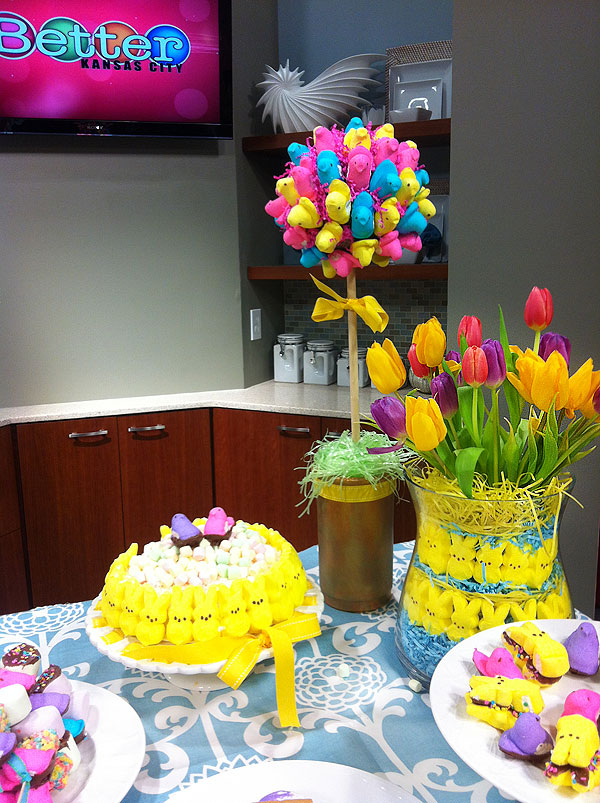
1. Secret #1 – when planning to hot glue your PEEPS, “CURE” them. Curing is another way of saying, let the Peeps dry out. As they dry, they harden and are much easier to work with when you are using any type of adhesive. I created two PEEPS TOPIARIES and cured my PEEPS for two weeks. Then, I purchased topiary forms and hot glued the PEEPS directly on them. Just be careful where you start and stop and make sure the seam is in one place, preferably the back. And yes, with a little direction, this can be a great project to do with the kids.
peeps-08

2. Secret #2 – Bunny PEEPS look great Layered! A great tip is to use the paper grass instead of jellybeans or other candies to fill in spaces between layers. It is a lot more affordable and looks great! I created a layered PEEPS CENTERPIECE (pictured above) with a “layered” look that used PEEPS and paper grass. The PEEPS bunnies are perfect for this project, because unlike the doves or chicks, which are rounded, the bunnies are nice and flat. This wonderful shape makes them perfect to layer on cakes, in centerpieces, and even wreaths.
peeps-04

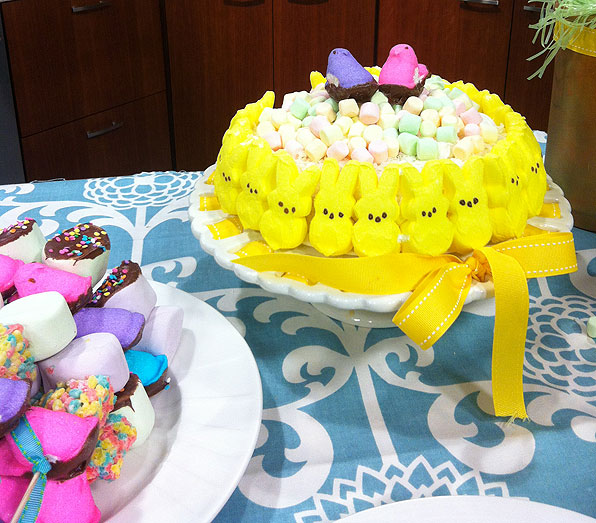
3. Secret #3 – When using for edible projects, make sure the PEEPS are as fresh as possible by embellishing your desserts right before serving them. One of the easiest and most popular projects is a PEEPS CAKE. Simply make your favorite cake in a round pan (or purchase one at the store) and embellish with PEEPS. For many, PEEPS are best when they are soft and fresh, so decorate your cake a few minutes before serving. As many of us know, Peeps harden when they are exposed to air, so the less time they are out of the package, the softer they are.
peeps-05

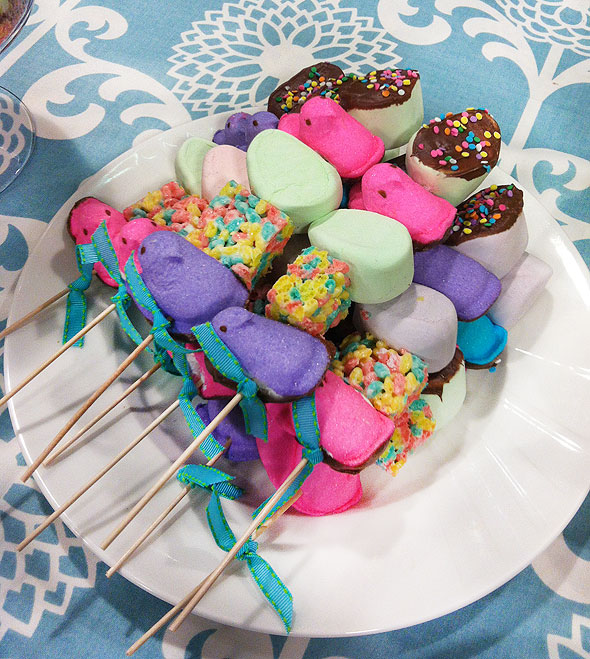
Another delicious project where I recommend you serve soft PEEPS are these wonderful PEEP-kabobs. They are made with Little Debbie’s Easter marshmallow treats, and chocolate covered marshmallow eggs. If you have some extra time, dip your PEEPS in chocolate and give the PEEPS some drying time so the chocolate can harden.  I use the candy chocolates you can buy at any craft supply store that has a baking section. Or check your grocery store, now you can purchase ready-made chocolate dipped PEEPS.  Absolutely DELICIOUS!!!
peeps-03

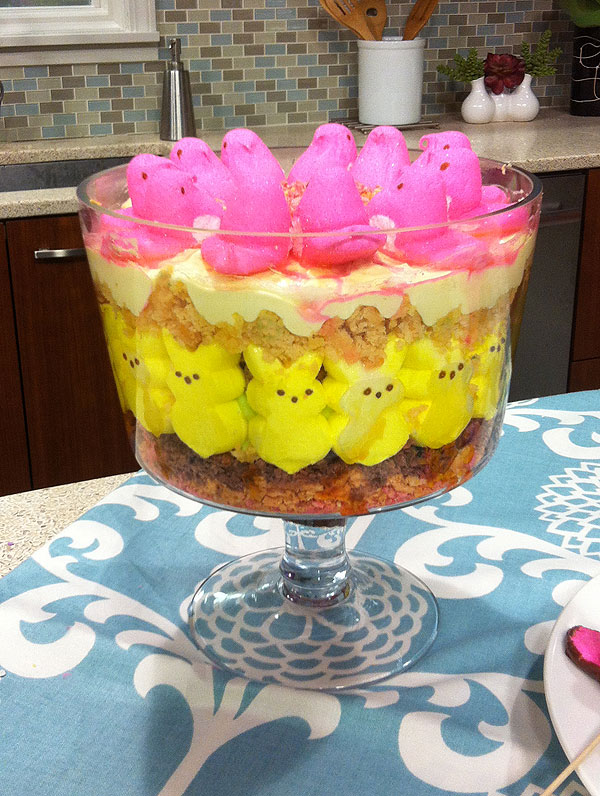
Secret #4 – PEEPS are indestructible! Peeps are famous for their 2 year shelf life and indestructibility. Scientists at Emory University could not dissolve PEEPS in water, sulfuric acid, or sodium hydroxide. What that means for the PEEPS lover is that they can submerge their PEEPS in practically anything without the fear of them being destroyed. I got excited about the possibilities and created this PEEPS TRIFLE – The trifle was super easy. My bottom layer consisted of sugar wafers. I layered the PEEPS around my trifle bowl directly on the wafers. My second layer was Lemon or Lime pudding combined with cool whip. My third layer was cake but I also highly recommend using breakfast waffles, they are less sweet and when saturated with the pudding, are delicious!! My third layer was pudding and cool whip. My fourth layer was more cake (or breakfast waffles). My fifth layer was more pudding. And my final layer was the pink Peeps on top. If you would like a slightly less sinful version, use sugar-free pudding and incorporate the breakfast waffles instead of the cake and sugar wafers.  Also, give your Trifle some time in the refrigerator, anywhere from 4 – 24 hours.  All the layers have time to “marry” and soak up each other’s goodness.
peeps-06

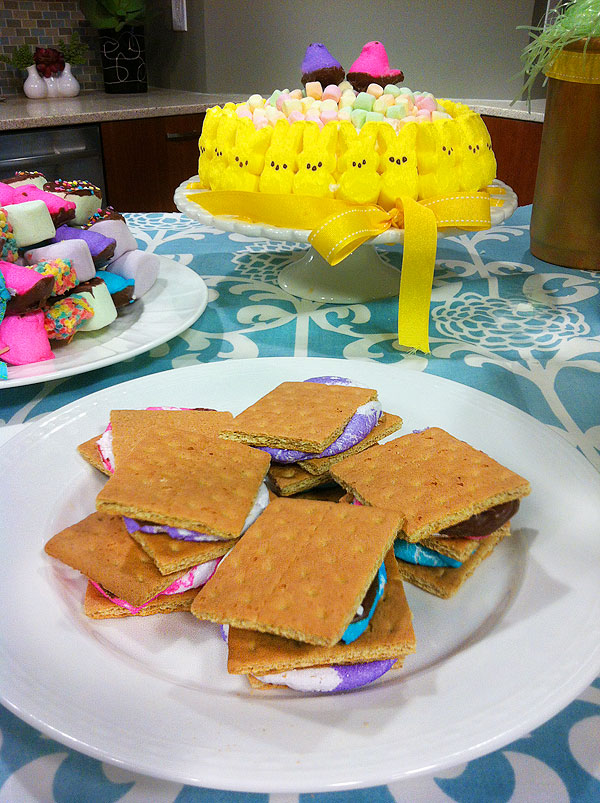
Another famous dessert for Easter are the PEEPS S’mores. It’s fun to watch the PEEPS morph in the microwave and once you put them in between two graham crackers… well… you best clear the way, because there will be a mad stampede to the dessert table! The PEEPS S’mores are really simple to create. I dipped my PEEPS in chocolate the night before. Right before I served them, I placed one on top of a graham cracker, popped in the microwave for about 15 seconds and watch them do their thing. Once I felt they were ready, I took them out of the microwave and placed another graham cracker on top. It turns out perfect every time!!!
peeps-02

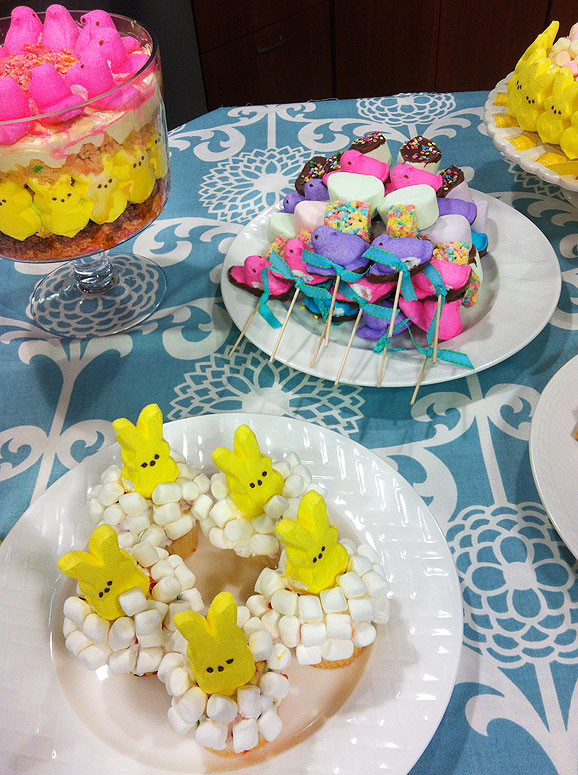
5. Secret #5 – PEEPS are cute when you “stage” them! You may or may not be aware that there are over 60 national contests that take place every year involving PEEPS one way or another. Many of them are Diorama contests. The Dioramas show PEEPS doing all sorts of crazy things (Star Treck scenes, Harry Potter, scenes, etc.) Just google “PEEPS Dioramas” and you will have a plethora of funny things to look at. And if you want to stage your own PEEPS, here are some PEEPS bubble bath cupcakes that take just a few minutes to put together. Your kids will love doing this. Simply make cupcakes and frost them with white icing (or purchase ready made cupcakes at the store with white icing). Put a PEEP on a toothpick and stick the toothpick and peep into the cupcake. Then, open a bag of mini-marshmallows and decorate your heart out. Super simple and incredibly adorable!!