October 28th, 2013
Get your napkins ready, because if you make this gooey and yummy dessert, your guests will be licking their fingers for hours! These brownies is supposed to look as if the PEEPS are melting all over it. And it just doesn’t get any easier.
Just purchase basic brownie mix at your local grocery store. Five minutes before the brownies are done, sprinkle with a layer of mini-marshmallows. In about 5-7 minutes, your brownies should be ready and a puffy layer of marshmallows will create a beautiful topping. Once it cools, cut the brownies into squares, and with a toothpick, attach a PEEPS ghost. The white of the PEEPS and the white of the marshmallow layer will look like the Peep is melting directly into the marshmallow and creates a fabulous effect. 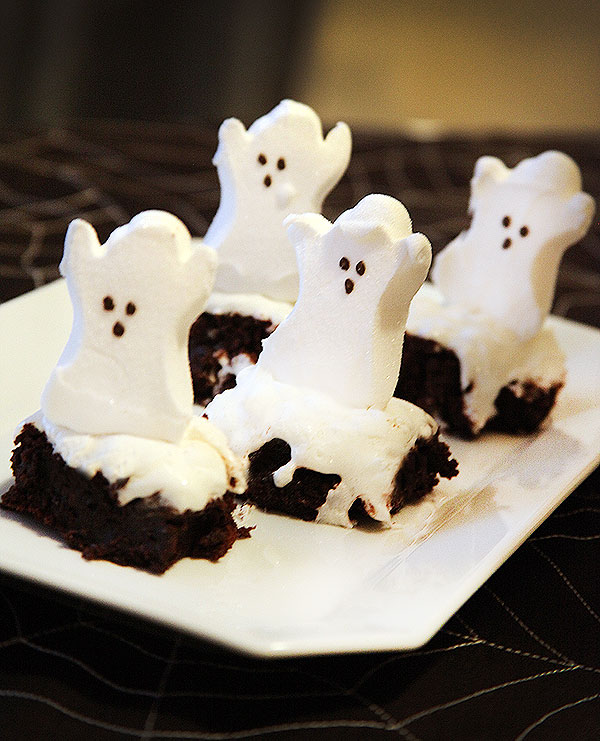
· Posted in Halloween, PEEPS, Recipes ·
October 25th, 2013
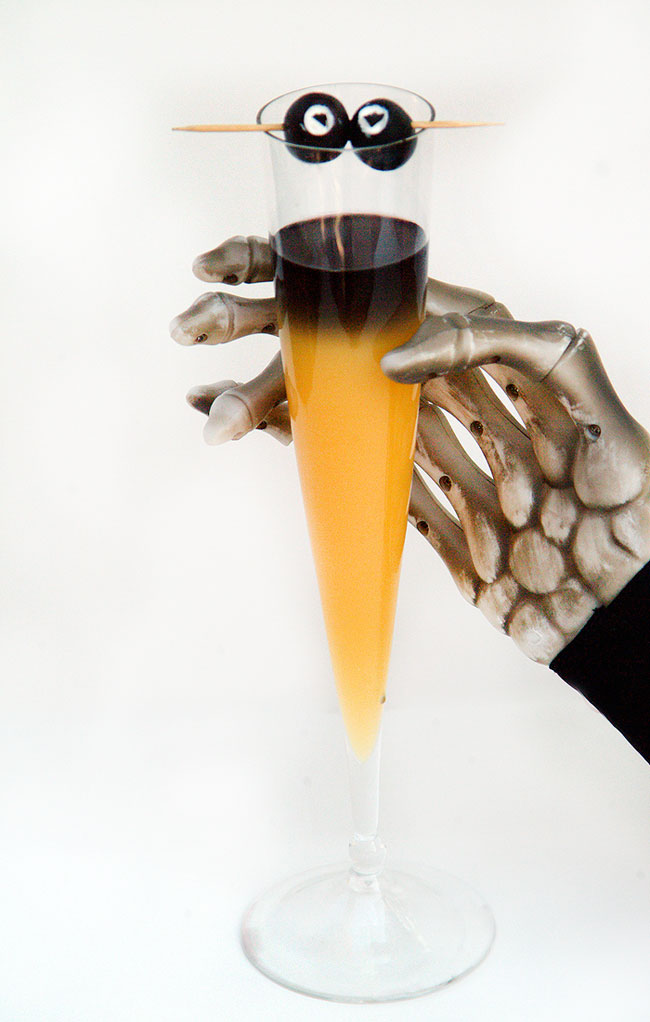
Each year I post this recipe for Goblin Mimosas which I came up with a few years ago. Black vodka, orange juice, stuffed olives… you just CAN’T go wrong! Here’s the full recipe!
· Posted in Fun Cocktails, Halloween, Parties ·
October 24th, 2013
What is Halloween without “witches” or “monster” fingers… clearly, they are a staple at any Halloween party! I guess this is why there is no shortage of witches’ fingers on the web, just google it and you will find a myriad of recipes… some made out of cookies, others out of breadsticks, I can go on and on.
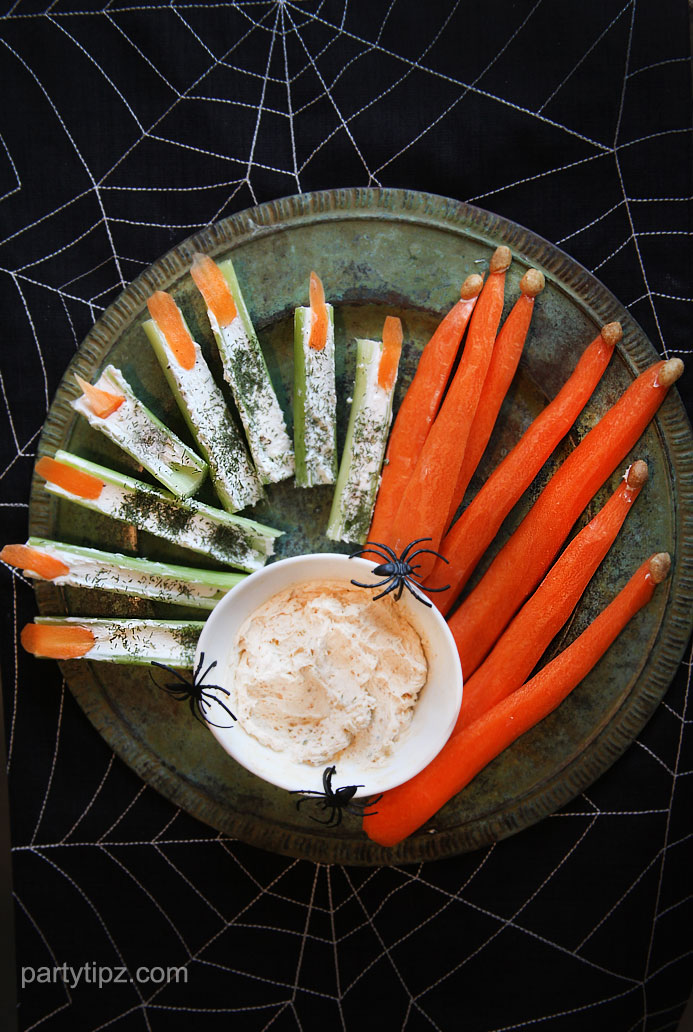
I too have come up with several “finger” recipes to add to the creative pool! Just couldn’t resist! Since my other recipes included hot dogs and cookie dough (two separate recipes… thankfully) , I thought I would contribute one more recipe which was a little more health conscious… much like a veggie platter! These monster fingers are made out of carrots and celery.
You can get really creative with the carrots when you are peeling them, making them gnarly and uneven. Use peanuts or almonds for the “nails”. There isn’t much room for creativity with the celery, but you can have some fun with the nails by making them more pointy or curly. I created a “hairy finger look” by sprinkling the celery with dill weed. Oh and the best part, they can be as ugly as you want them to be… perfection is a “no-no” with this recipe, so throw it out the window and enjoy the process.
For the filling of the celery, I used flavored cream cheese and sprinkled the top with dill weed for a “hairy” look. The nails are thinly sliced carrots. For the carrots, I simply peeled them and adhered a peanut for a gnarly nail with the cream cheese. Serve them with any dip or flavored cream cheese.
· Posted in Halloween, Parties, Recipes ·
October 11th, 2013
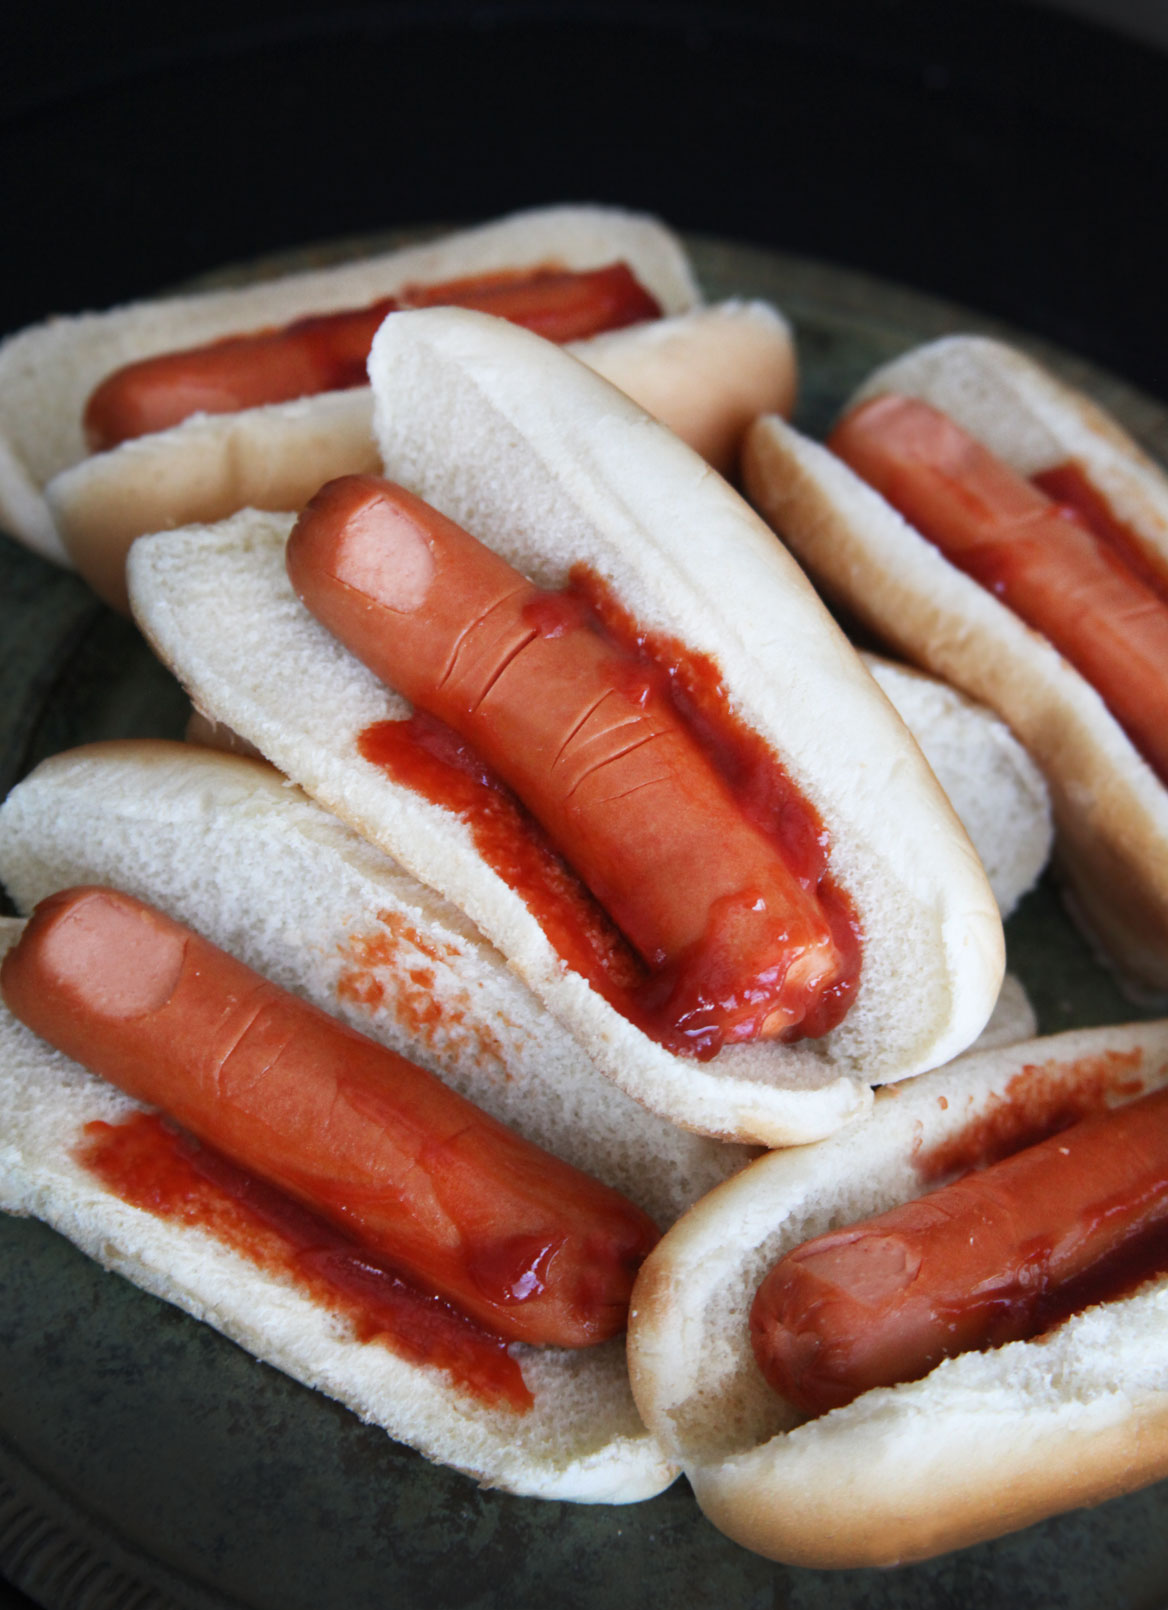
Yes, yes, I know it’s gross… but it’s Halloween… right??? And as your kids will get older, fun cupcakes, gummy worms, and cute Halloween popsicles, just won’t do anymore! This year, my 10 year old and I came up with “Severed fingers in a bun”. We saw so many “finger foods” on Pinterest, that we thought we would try something ourselves. If this is something you think your kids or teenagers would like for Halloween, it’s probably the easiest thing we’ve ever done! Just prepare hot dogs as you normally would, then cut out s thin section to look like a nail bed. Then, make a few cuts with a knife to represent the knuckles. Last but not least, place the hot dogs in a bun already doused with ketchup. It’s even grosser if you decide to grill the hot dogs… need I say more?
· Posted in Halloween, Recipes, Uncategorized ·
September 29th, 2013
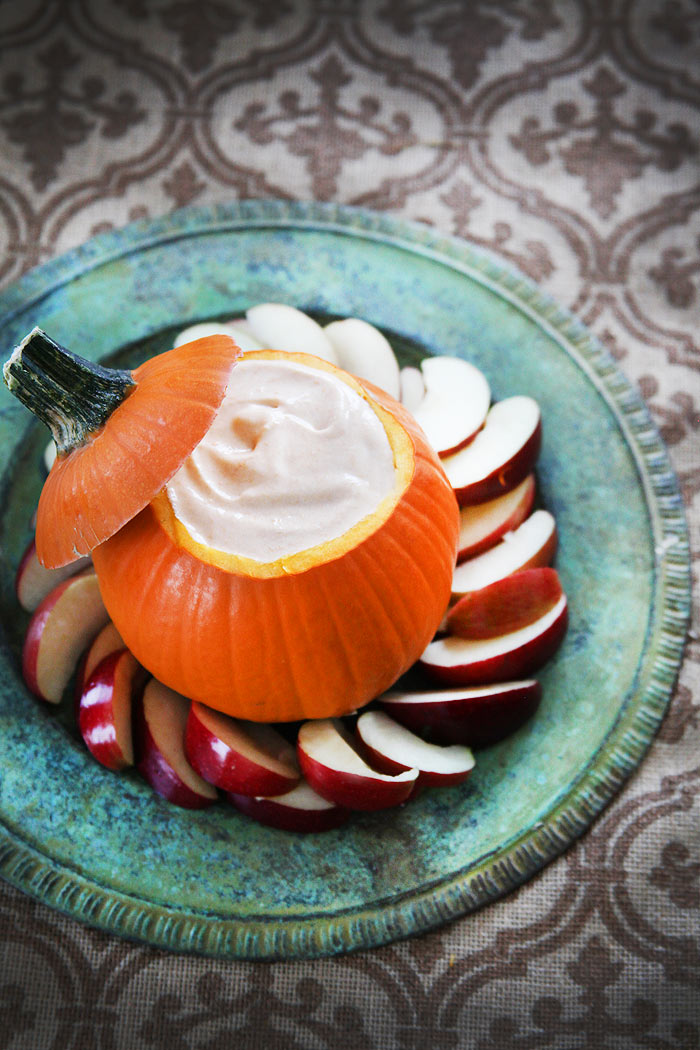
I LOVE this pumpkin dip… why? Because I can control how much sugar goes into it and customize it. So many recipes have multiple sweet ingredients which makes the sugar content difficult to gage. With this recipe, I can add as much or as little sugar as I want. Serve the dip with fruit, or even baked tortilla chips sprinkled with cinnamon and you’ve got yourself a winning party dish for any fall party… year after year. You’ll love it!
RECIPE
1/2 cup Canned Pumpkin (you can add less or more, depending on your preference)
1/2 large container of Light and Fit vanilla yogurt
2/3 container of Sugar Free Cool Whip (or any sugar free whipped topping)
1/2 cup of Sugar (this is the part that you can customize based on how sweet you would like it… you can use less or more)
1 tsp of Cinnamon (optional)
Combine all the ingredients and put in a bowl (or a hollowed out small pumpkin), I use sugar free and “light” varieties because I like to see how much sugar I’m putting in the dip. If this doesn’t matter to you, you can get the sugared varieties and skip adding your own sugar. Chill for at least 1 hour and serve with apples or sweet crackers.
· Posted in Appetizers, Fall Season, Guilt Free Party Snacks, Recipes, Thanksgiving ·
April 27th, 2013
Well, it’s back to school in my world! It’s always a bittersweet time, I miss the boys terribly but excited to finally have some time to get reconnected with my own projects. This fall, there is so much inspiration and I am constantly coming up with ideas. It probably doesn’t help that I practically live on Pinterest! That web site has been such a gift to me and I think anyone that enjoys being creative.
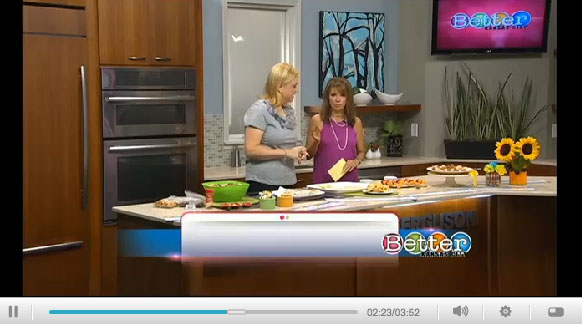
Yesterday, I had a TV segment on Channel 5 talking about fun ways to transform party eats into delicious and easy after-school snacks. I already knew which recipes I wanted to use, but I wasn’t sure what type of visual props I needed. Plus, I try to do “double duty” with my props, hoping that I can gift them after the show instead of simply throwing them out. Since I needed a teacher’s gift anyway, I thought creating something that could hold some flowers would be the perfect prop!
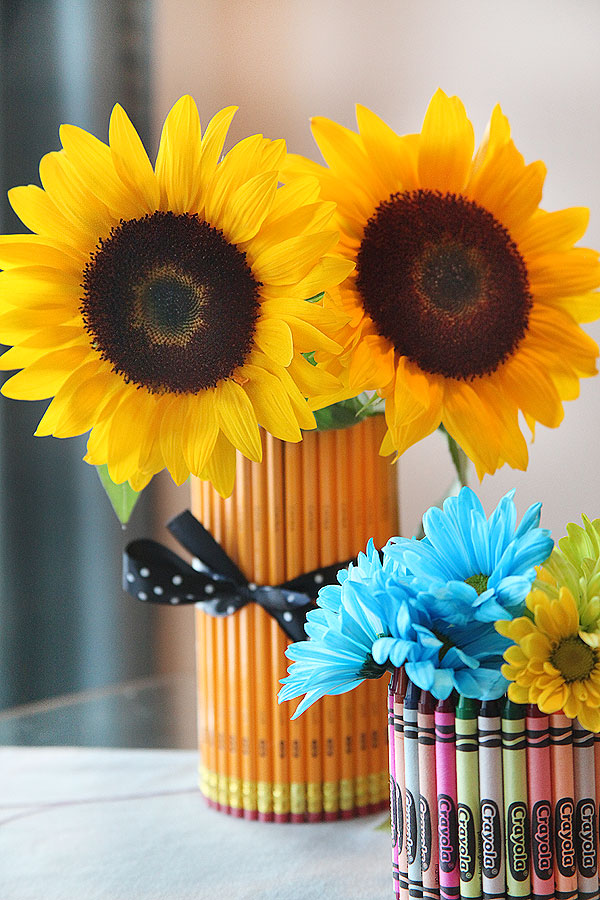
I set off to the local dollar store and purchased the cylinder vase and three packs of pencils (16 pencils per pack) for my pencil vase. I also purchased the smaller cylinder vase at the dollar store but purchased a large (64 count) box of crayons at Walmart for my crayon vase. The total cost of my project was $8. This includes the two vases, pencils, and crayons. I had the ribbon left over from another project and the cost of the flowers is not included. But I can assure you, the flowers will be the most expensive part of this project, unless of course, you have your own garden (lucky you!).
I hot-glued the pencils around the tall cylinder vase and did the same with the crayons around the smaller cylinder vase. I added the black with white polka-dots ribbon to add more interest. Filled the vases with water and arranged my flowers. The flowers looked great on the TV set (I included a photo below from my TV segment, the flowers are on the far right). I will be giving this to my son’s teacher in a couple of days and I am thrilled how it turned out. This is a NO FAIL craft project, so do not hesitate to try it!
· Posted in Uncategorized ·
April 25th, 2013
Yes, I love fall… and according to many different studies and surveys, so do many others. So, it’s no wonder we want to create an atmosphere that is cozy and comfortable as soon as fall arrives. I’m tempted to buy new pillows, candles, diffusers, and other accessories that reflect fall. My kitchen usually gets some type of a makeover with fall inspired pieces and of course, recipes! I live on Pinterest and pin as much inspiration as I can, even though I’ll just probably try one or two of what I pin (just being honest). So, it’s no surprise that one of my favorite activities is going to local stores to see their beautiful displays. My favorite store is Mary Tuttle’s which is located in Chesterfield, Missouri, a suburb in St. Louis. It’s definitely THE destination for any type of interior design inspiration. They are still very “old-school” in their design philosophy, where “more is more” and I have to admit, sometimes, I’m partial to “more”! Each fall, the in-house floral designers create a plethora of beautiful wreaths that just take my breath away! Many times, you can meet the designers on the spot and know exactly who created your masterpiece. Additionally, they will also create some custom wreaths, based on the size of your door and the fall elements you would like to incorporate. Needless to say, it’s one of my favorite places to visit along with William Sonoma and Pottery Barn. If you are in the area and have time to visit them, you should!
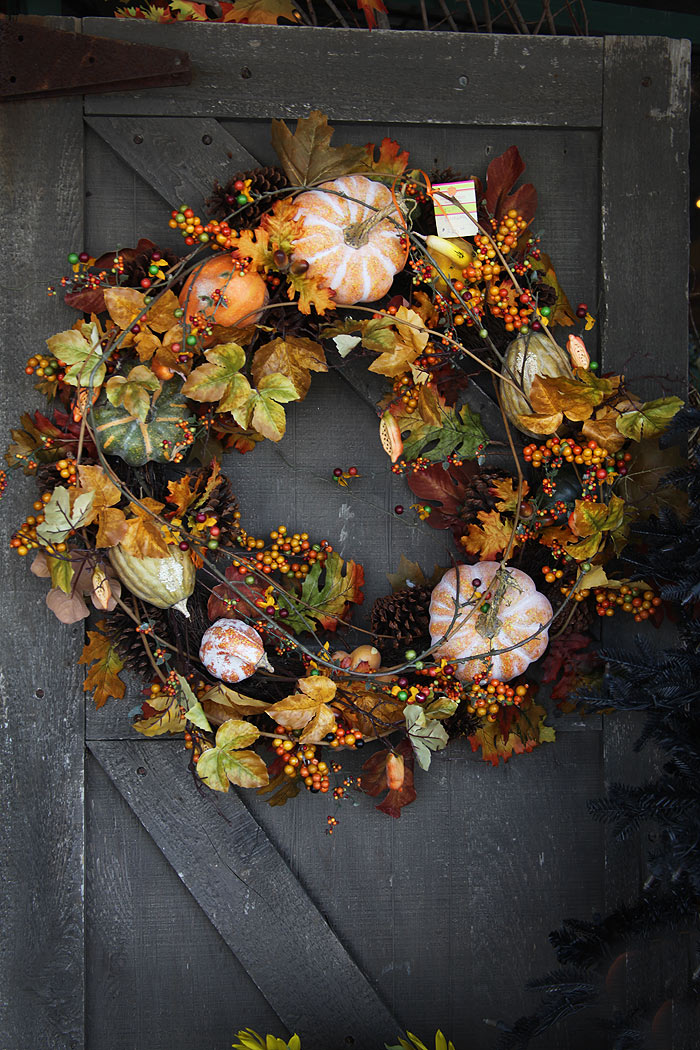
One of my favorite silk wreaths… so rustic!
Love how great this wreath stands out from the door, the gingham ribbon, and the monogrammed rug… the doggie is adorable too!

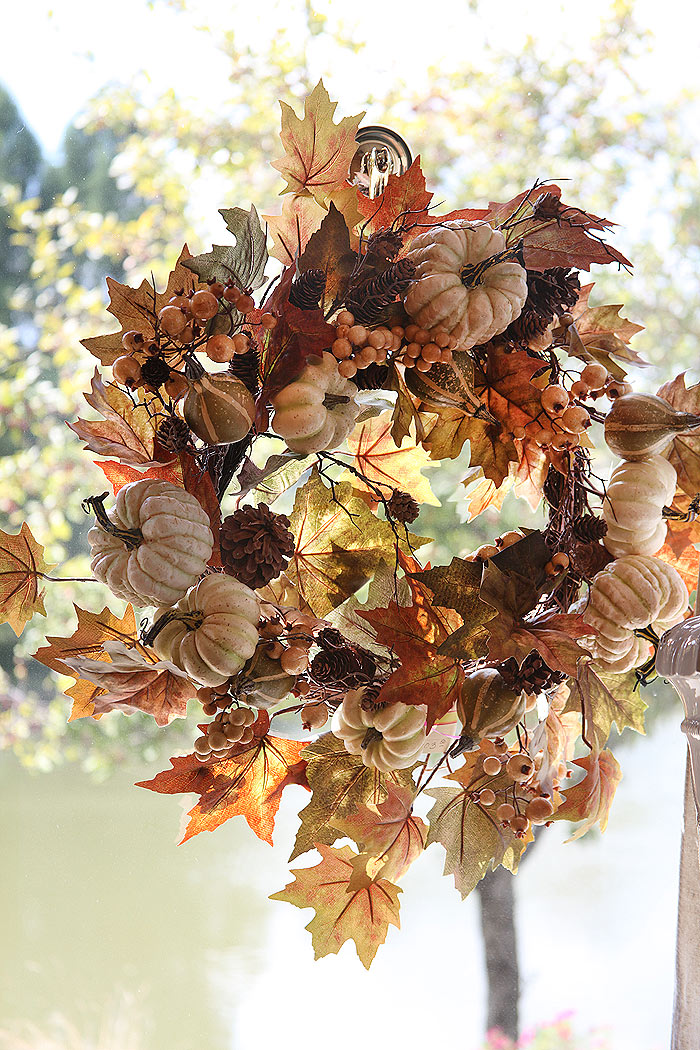
Pumpkins, gourds, berries, just love everything about this wreath! Perfect for hanging on a Window
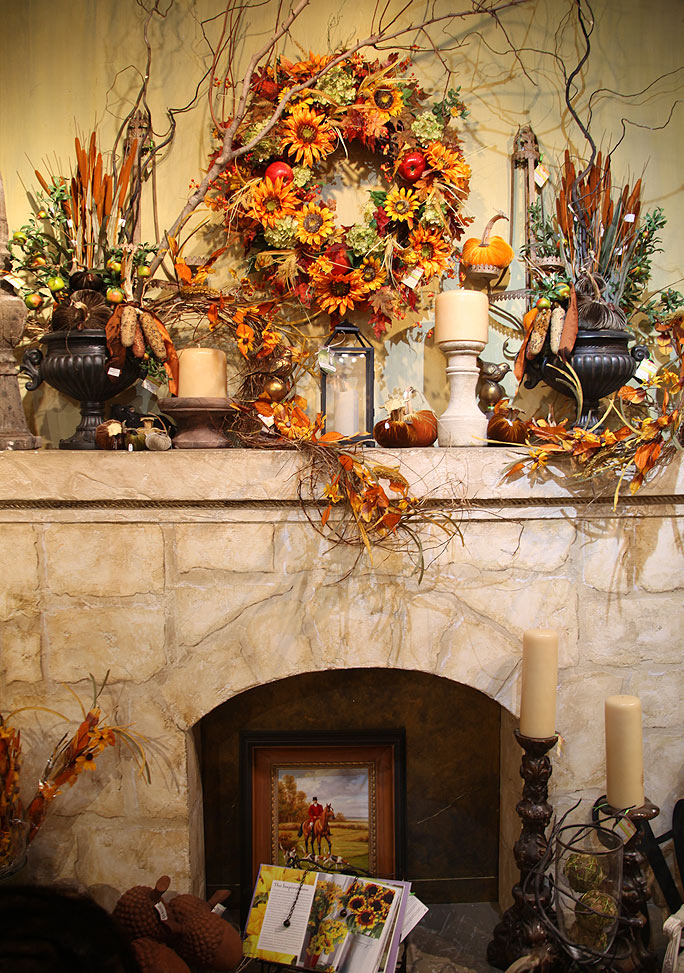
This Mantle is the a great example of the “more is more” design philosophy of Mary Tuttle’s!
 www.punapharmacy.com www.punapharmacy.com
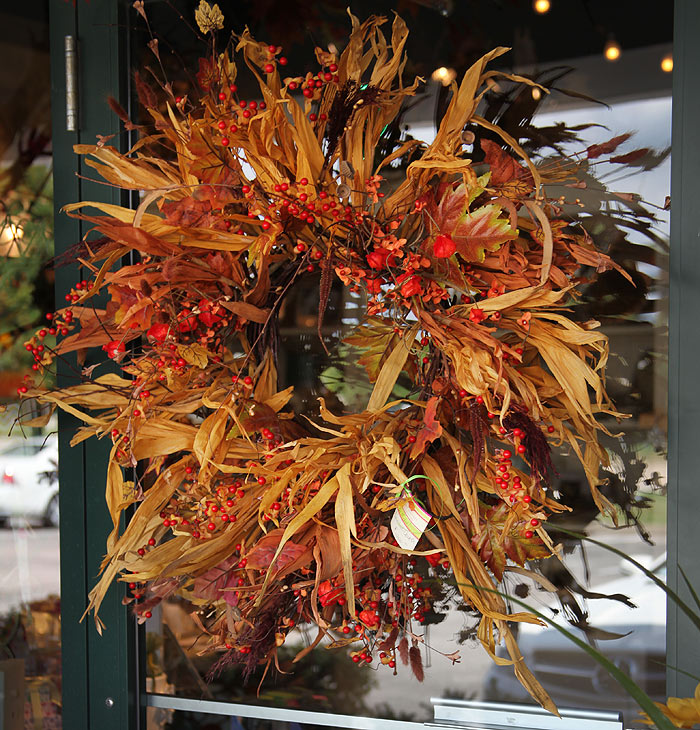
This wreath is a perfect fusion of fall and winter elements… can easily transition into the holiday season!
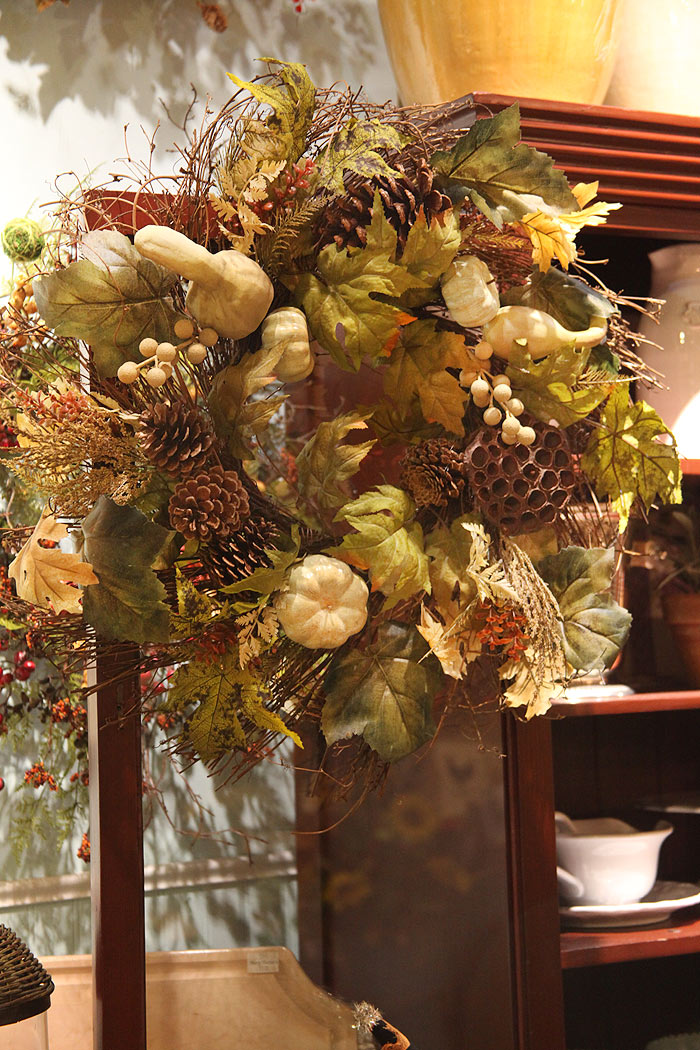
This wreath is perfect if you are looking for something bushy and significant… perfect for large doors or doors with a lot of design elements.
· Posted in Uncategorized ·
April 25th, 2013
For anyone out there who loves a great bargain, you would be high-fiving me right now! When I found this wonderful Teepee for my boy’s room, I got all kinds of excited!! The perfect place for a good book, pretend play, or just to get away from the world! For anyone who loves to design and entertain, “thrifting” and “garage saling” are a great way to accumulate treasures without breaking the bank. My boys are going to love playing in this teepee and I’m going to love passing it on to another child when they have outgrown it!

· Posted in Uncategorized ·
April 9th, 2013
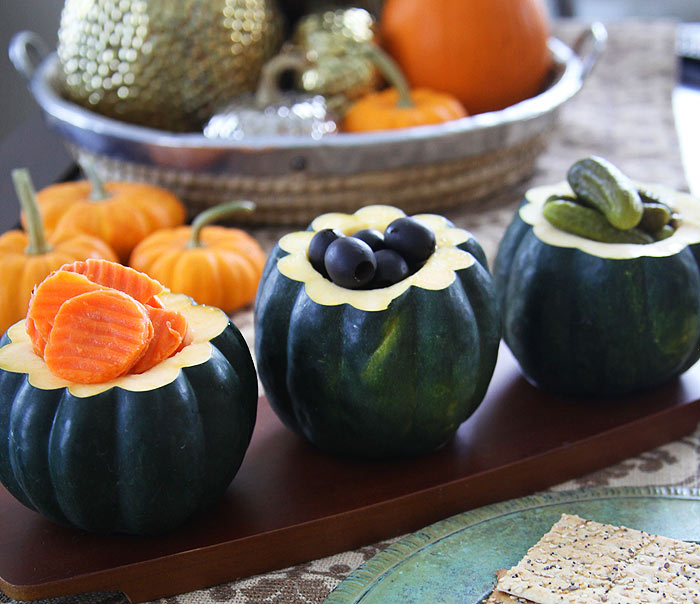
This is truly one of my favorite fall entertaining ideas. Not much to do except cut an acorn squash, scoop out the seeds, and serve anything your heart desires in it. They look so beautiful as a set of three. Or, you can create a whole gourd arrangement with different sized gourds and fill them with dips, vegetables, baby corn, or anything you love. I guarantee, it will be the talk of your table!
· Posted in Uncategorized ·
February 27th, 2013
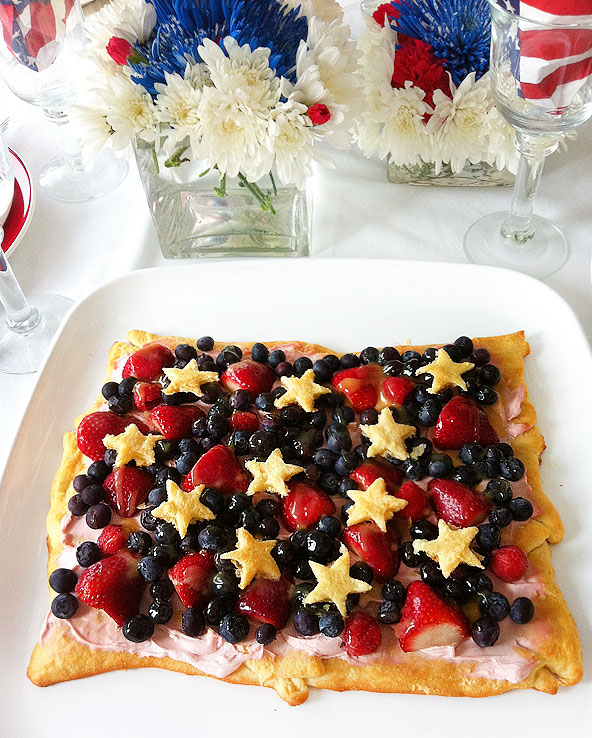
This Memorial Day I hosted a brunch for a lovely couple who came to visit us from St. Louis. I made a Russian/American menu for the main course but my most favorite dishes were the desserts! I scoured Pinterest and found some great inspiration. Here is a “Patriotic Torte” which I whipped up after seeing a few on Pinterest. I loved how all the ingredients worked well together. If you would like to try something different and substitute any of the ingredients, I recommend using puff pastry instead of croissants and yogurt instead of cream cheese. I’ll be trying both of these substitutions when I make this dessert again for the Fourth of July! Here’s the recipe:
Ingredients
- 2 cans of croissant dough (or you can use puff pastry)
- 2 small tubs Strawberry or Blueberry cream cheese
- 1 carton Strawberries
- 1 carton Blueberries
- 1 jar Prepared Lemon Curd (available at any grocery store with the jams and preserves)
Preparation
Roll out the croissant dough but do not take apart. Instead, pinch the seams together so that you can create a solid bed of croissant dough as your “crust”. Add the dough from the second can to the crust but reserve 1/4 of the dough to cut out your stars. The other 3/4 of the dough can be added to create the crust. Your end result should be a rectangular croissant crust.With a small or large cookie cutter, cut out the stars and set aside.Bake the crust and the stars according to package directions.Once ready, remove the crust from the oven and let cool.
Once the crust is cool, spread all of the strawberry or blueberry cream cheese on the crust.
Cut strawberries in half and place on top of the cream cheese. Then add the blueberries.
Heat lemon curd in a sauce pan and add about 1/4 cup of water so it liquifies and becomes a thinner sauce. Once it turns into liquid, sprinkle all over the top of the strawberries and blueberries. For best results, brush all the fruit with the liquid lemon curd so they have a shiny appearance.
Presentation
Once the torte cools, you can serve it. However, it is even more delicious 1-2 days after you make it! This is a perfect recipe for preparing “ahead”!
· Posted in Uncategorized ·
|
|
|


