February 18th, 2014
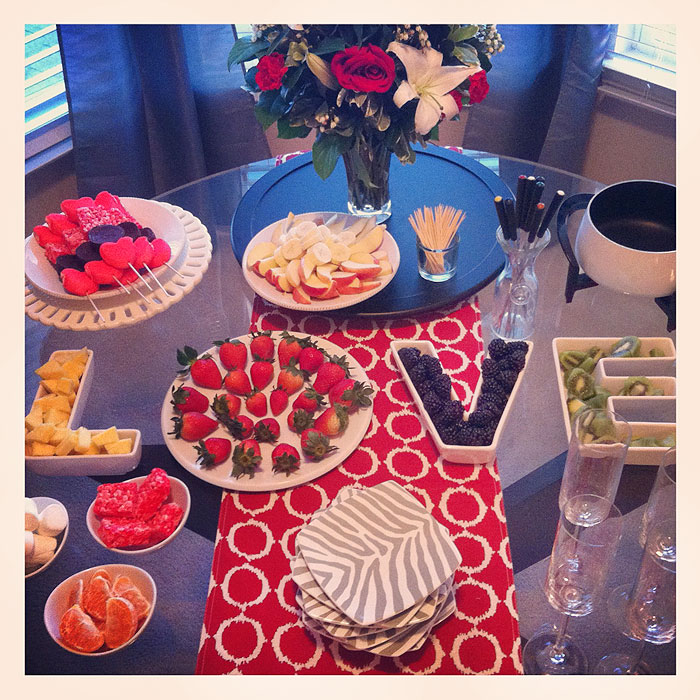
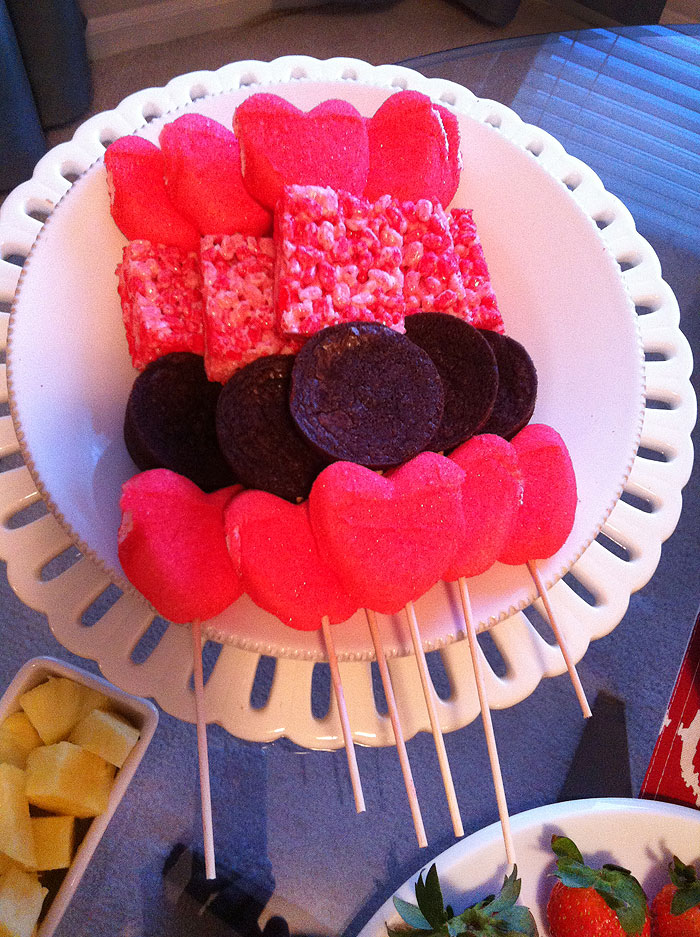
Valentine’s Day is either a hit or miss for me! Sometimes I go all out, and sometimes I just tell my husband to take me somewhere special. This year, we decided to have another couple over for dessert, so I created a chocolate fondue buffet with a Valentine’s twist. I found heart Peeps at the store, which is a HUGE treat for me, since I shamefully admit, I love Peeps! I created Peeps heart-kabobs with Little Debbie marshmallow treats, brownie bites from the Target bakery, and heart Peeps. The rest of the items were cut-up fruit and some other goodies to dip in a super easy chocolate fondue. I loved that this party required little prep time. For drinks, we made champagne cocktails, which are simply glasses of champagne with an added sugar cube. I also added a strawberry to every glass.
For my fondue, I kept it simple with a half a bag of bittersweet chocolates and 1/4 cup of condensed milk. Worked out beautifully! Seriously, I wish all parties were this simple!
· Posted in Parties, PEEPS, Table Decore, Valentine's Day ·
February 11th, 2014
Absolutely loving this gorgeous table design from Mary Tuttle’s for Valentine’s Day!

· Posted in Parties, Retail Displays, Table Decore ·
February 3rd, 2014
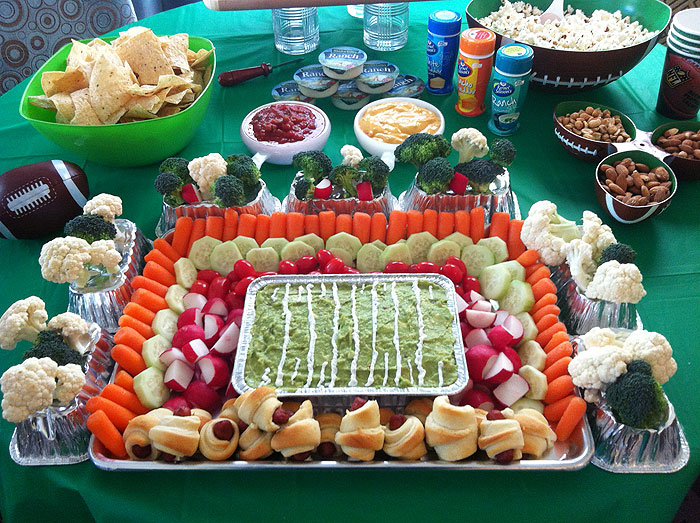
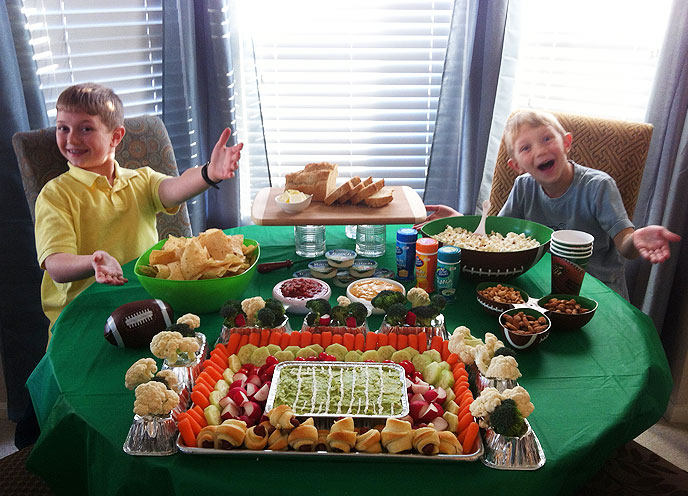
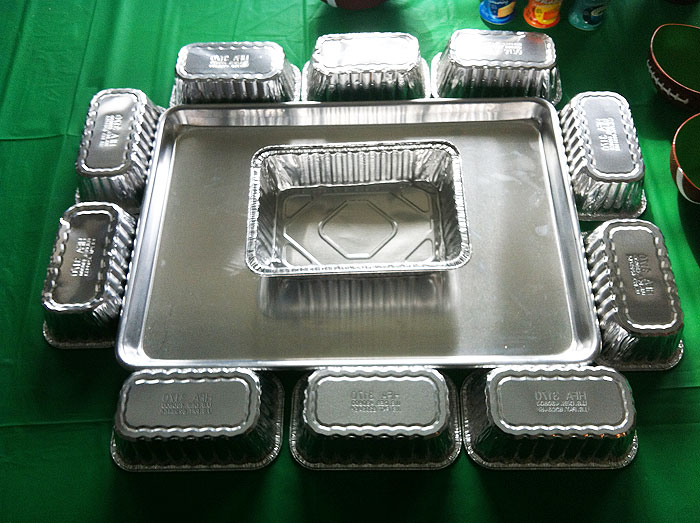
Two things I loved about yesterday’s Super Bowl… Bruno Mars and my healthy Snackadium which my kids helped me put together! Below are some photos of our snack table, we also had delicious white chicken chili, which our friends brought, and a spicy beef chili which I made (for the first time!). However, the Snackadium stole the show!
The snackadium was made with veggies and pigs in a blanket made with turkey sausages and low fat croissants. I also made a low-cal 7 layer dip using fresh salsa and low-fat sour cream. I changed my layers around so that the fresh guacamole ended up on top.
· Posted in Parties, Super Bowl ·
February 1st, 2014
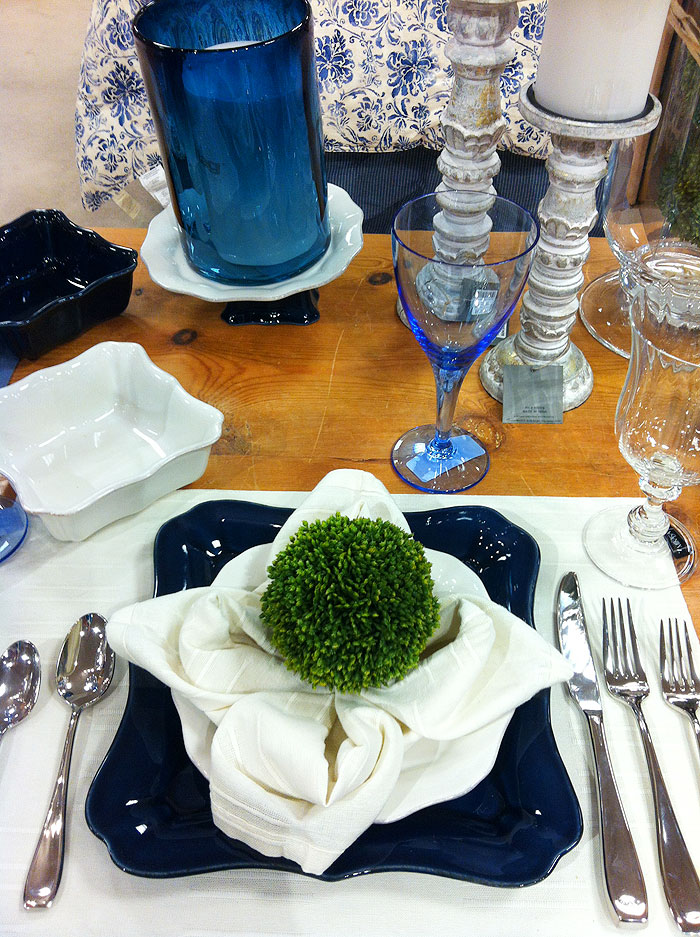
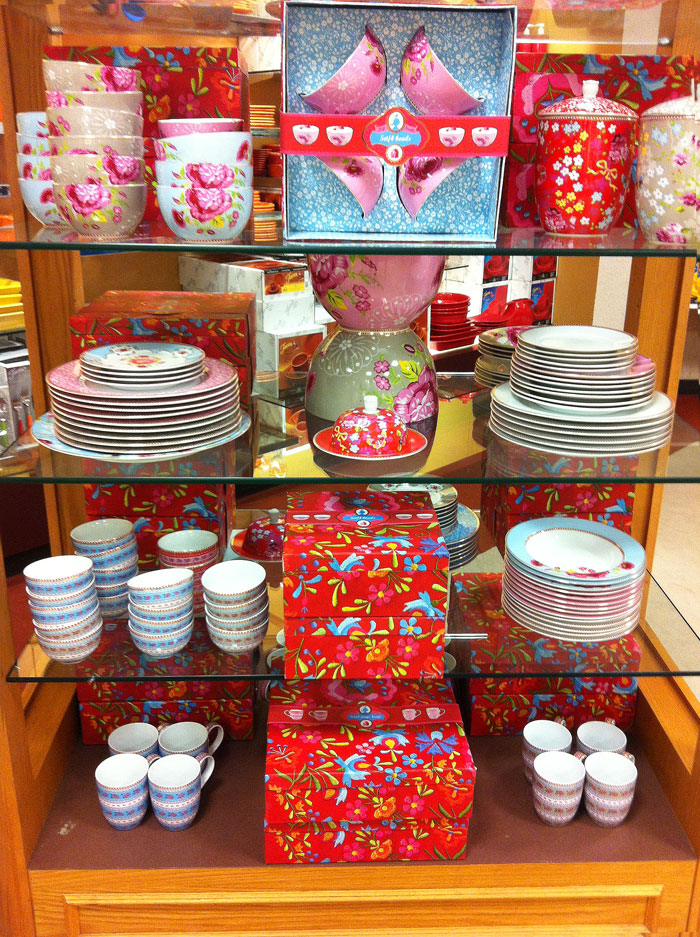
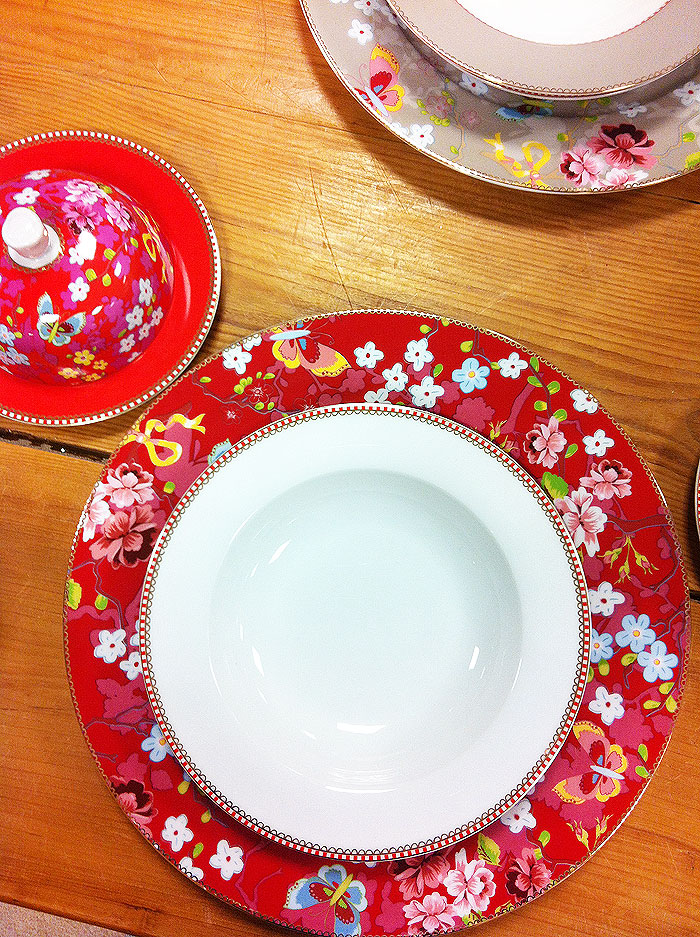
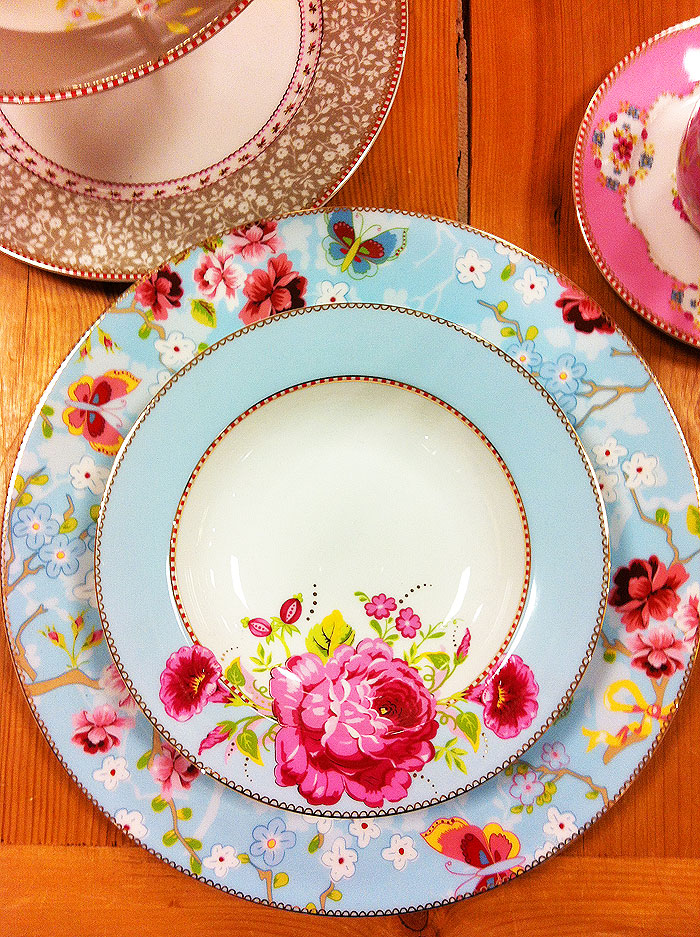
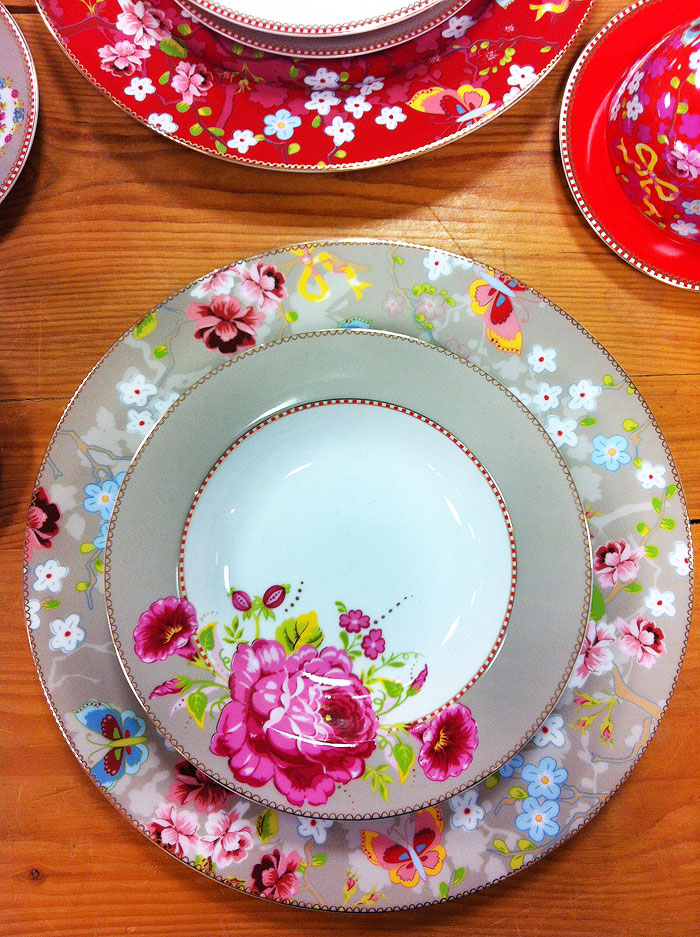
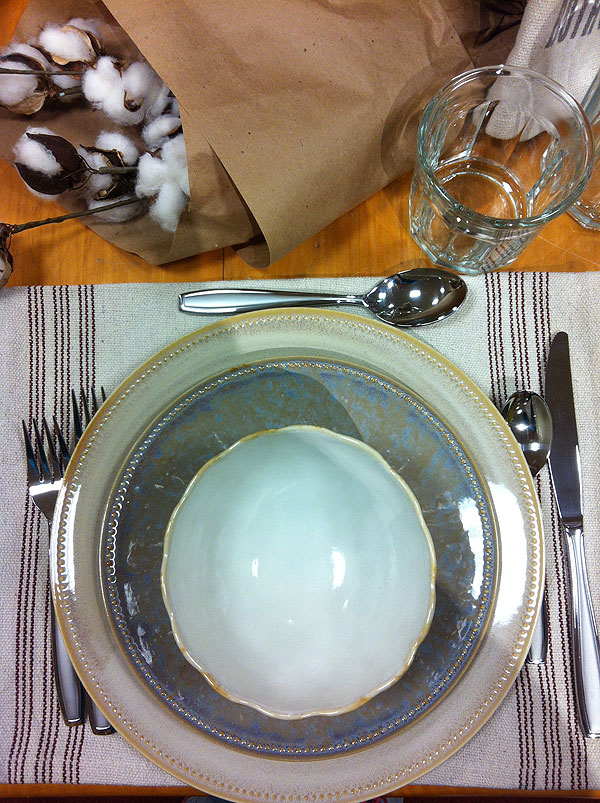
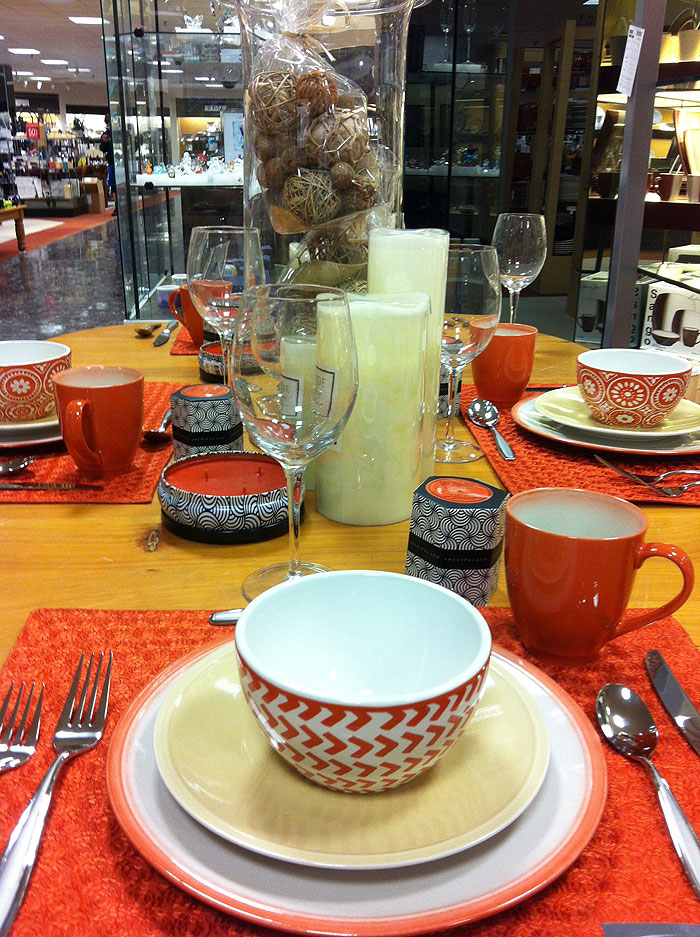
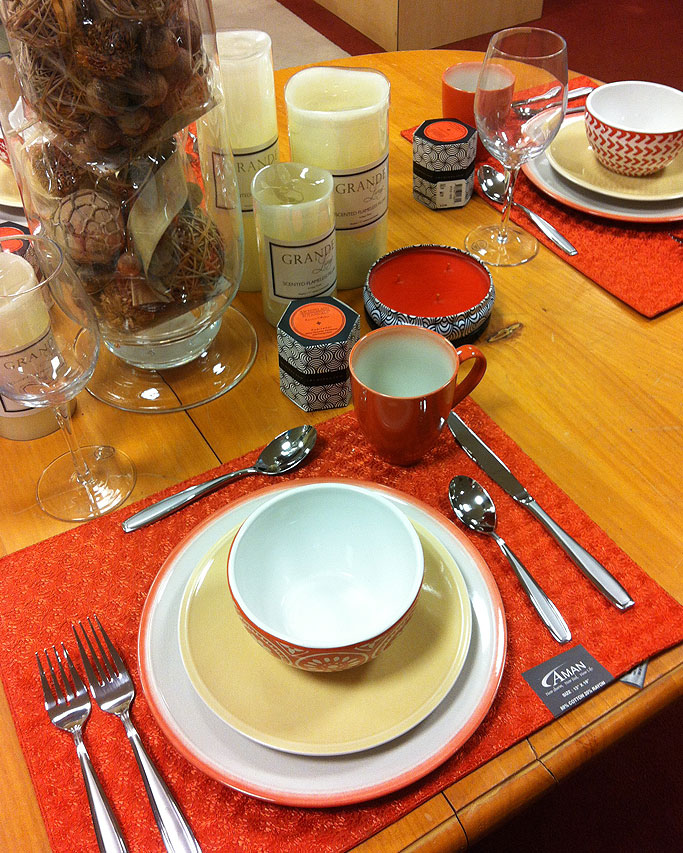
I’m always excited to find out what the latest trends are in table décor! I stopped in at Dillards and photographed a few of their displays for spring and summer. I like all these ideas, but my favorite are the floral plates… so pretty!

· Posted in Parties, Retail Displays, Table Decore, Trends ·
January 27th, 2014
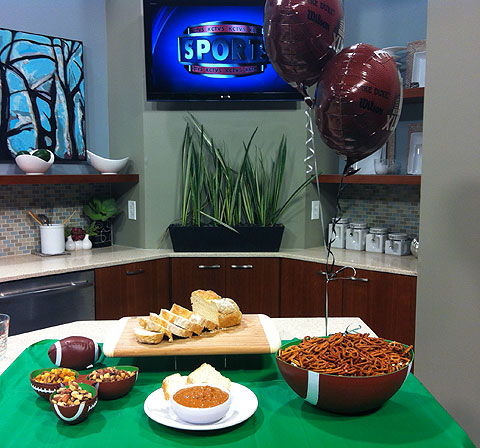
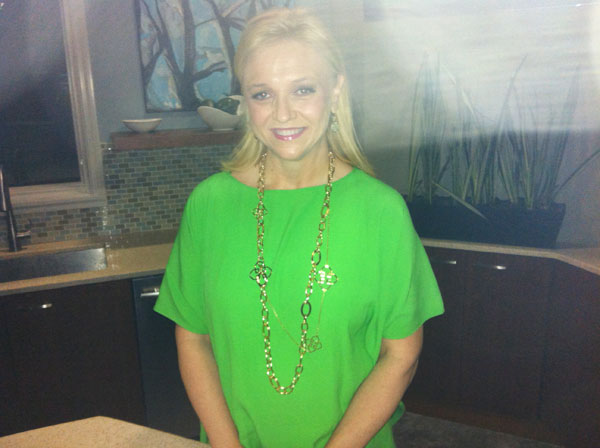
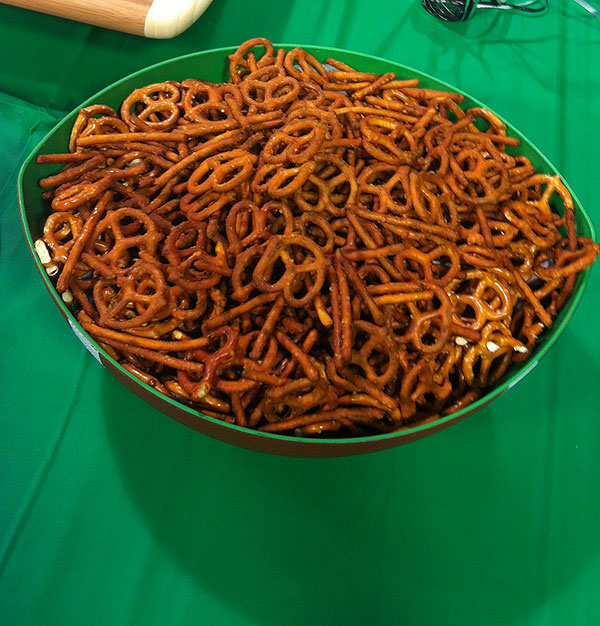
I had a blast today hanging out with Alexis and Dave from Better Kansas City Morning Show on Channel 4, here in Kansas City! I demoed three great “mobile” snacks to take to a Super Bowl party. Hot Wing Pretzels… Roasted Flavored Nuts… and Hot Wing Pretzels! All were super easy and with just a few ingredients!
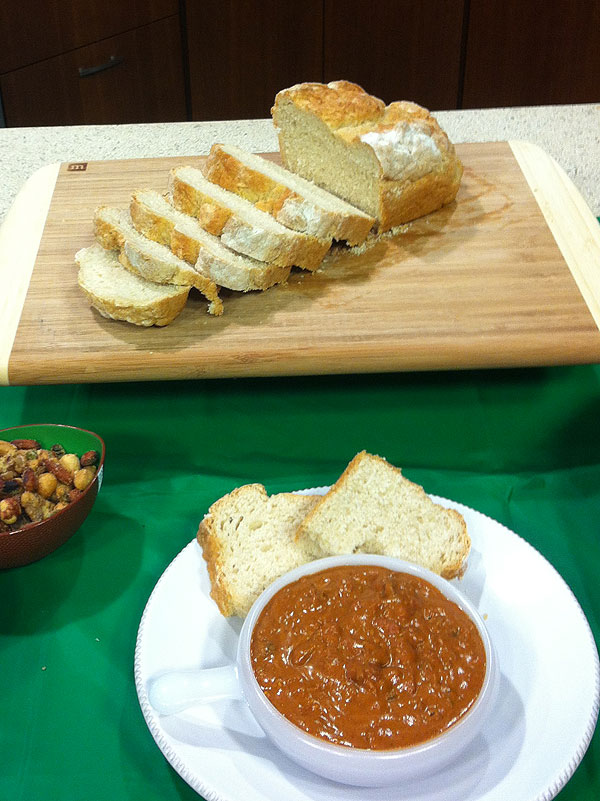
BEER BREAD
3 cups of Self Rising (very important!) flour
3 tabspoons of sugar
12oz container of beer (any brand)
Pour beer into bowl. Then add flour and sugar. Mix until you have a dough
that is not sticking to the sides (you can add a little extra flour if you
like). You can place the dough directly in a well greased loaf pan. Or,
you can put the dough on a floured surface and knead it until you like the
consistency. Either way, your bread will be perfect (kneading or no
kneading).
Bake in the oven at 350 degrees for 55 minutes or until you see the top of
the bread get brown. Keep an eye on your bread because ovens can bake
differently. If you like, you can pour some melted button on the top of the
bread 10-15 minutes before it is done.
HOT WING PRETZELS
1 bag of pretzel sticks or regular pretzels. Do not use large pretzel
sticks.
1/2 cup of Butter
1/2 cup of Hot Wing Sauce
2 Tbsp of Worcestershire Sauce
2 tsp Garlic Salt
In a pot, heat up the sauces and garlic salt. Once everything is mixed and
well heated, place the pretzels in a bowl and coat with hot sauce mixture.
Make sure that you coat the pretzels little by little, you don’t want there
to be extra sauce on the bottom of the bowl or a puddle on your baking sheet. Mix the pretzel sticks so they are well coated. Then place on a baking pan and bake on 300 degrees for 30
minutes, stirring every 10 minutes.

SEASONED NUTS
3 cups of any nuts or mixed nuts… make sure they are RAW!
1/4 – 1/2 cup of butter
Ranch, cheese, or any pop-corn seasoning. You can also use seasoning packs
made for salsas and dips.
Place your nuts in a bowl. Melt butter and pour it over nuts little by little. Mix well
until all nuts are coated. Then simply add your favorite seasoning… as
much as you like. Bake in the oven at 350 degrees for 7-10 minutes. KEEP
YOUR EYE ON THE NUTS SO THAT THEY DO NOT BURN!! After nuts are taken out of
the oven, sprinkle some more seasoning on them and wait for them to dry
fully 3-5 hours. Great to make a day in advance.
· Posted in Appetizers, Parties, Recipes, Super Bowl, TV Appearances, TV Spots, Uncategorized ·
December 8th, 2013
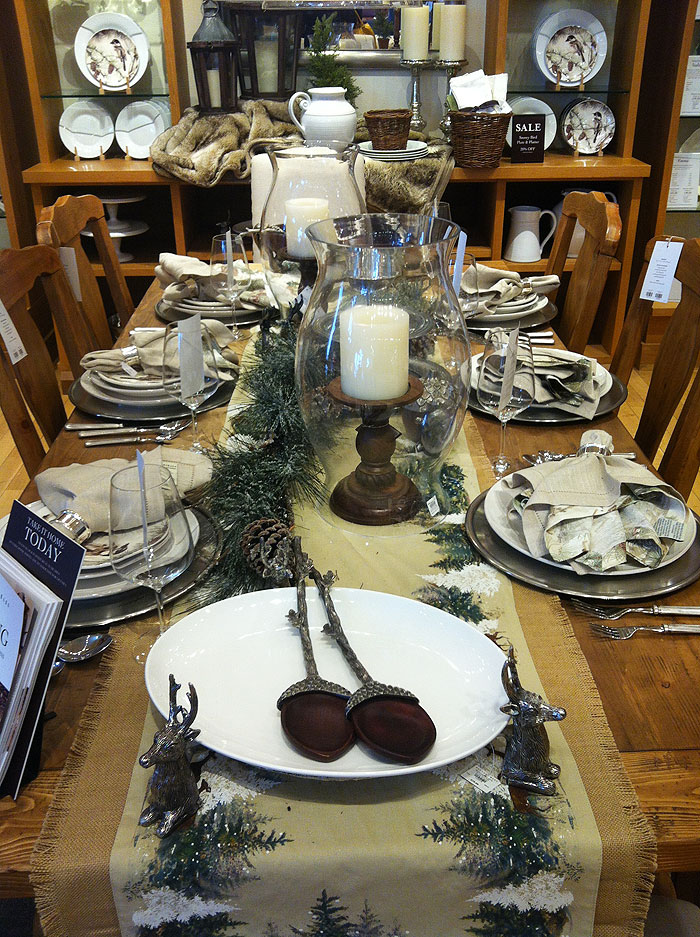
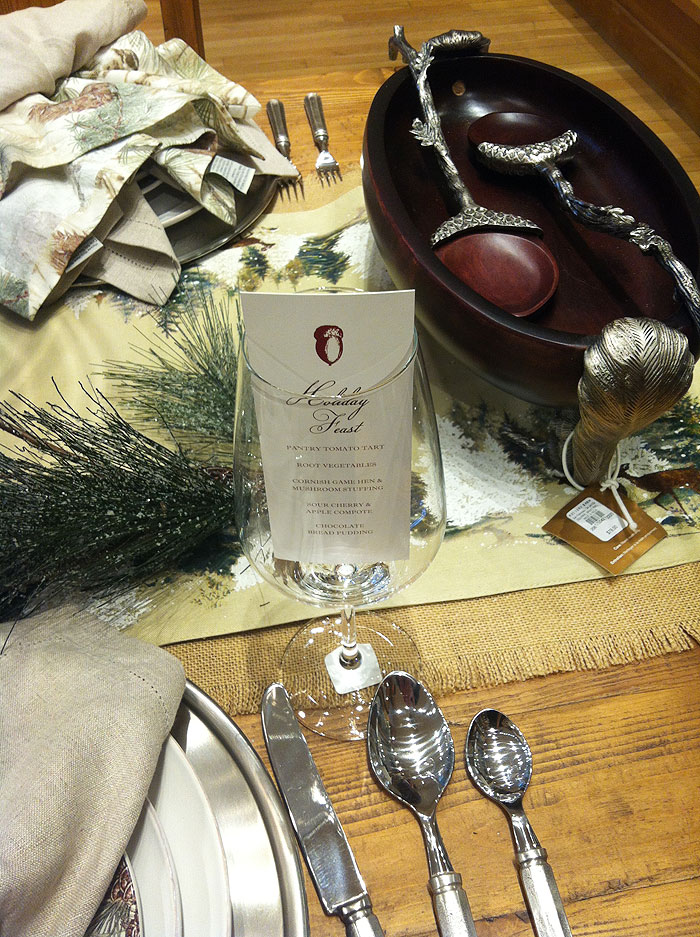
I’m loving this Christmas tablescape from Pottery Barn. I especially love how they put the menu in the wine glass. Simple yet so sophisticated!!

· Posted in Christmas, Interior Design, Parties, Retail Displays, Table Decore ·
October 30th, 2013
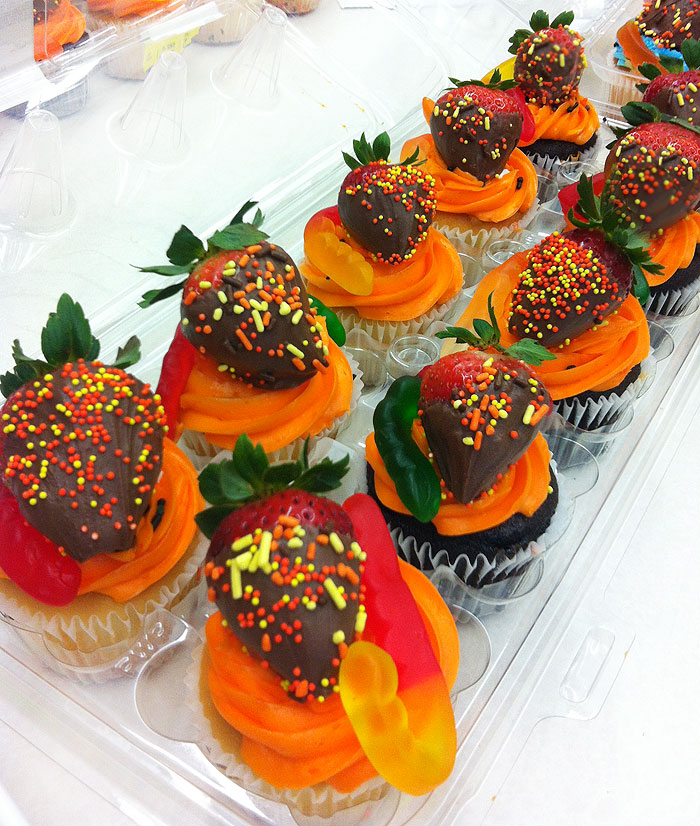
For my son’s School Halloween Party, I wanted to do something different, but didn’t want it to be too much work. So, I decided to customize store-bought cupcakes. All I did was dip some fresh strawberries in candy chocolate coating and sprinkle them with Halloween sprinkles. I placed each strawberry on top of the cupcake and added a gummy worm… because all kids LOVE gummy worms! The party snack was a success!!!
· Posted in Fall Season, Halloween, Parties ·
October 25th, 2013
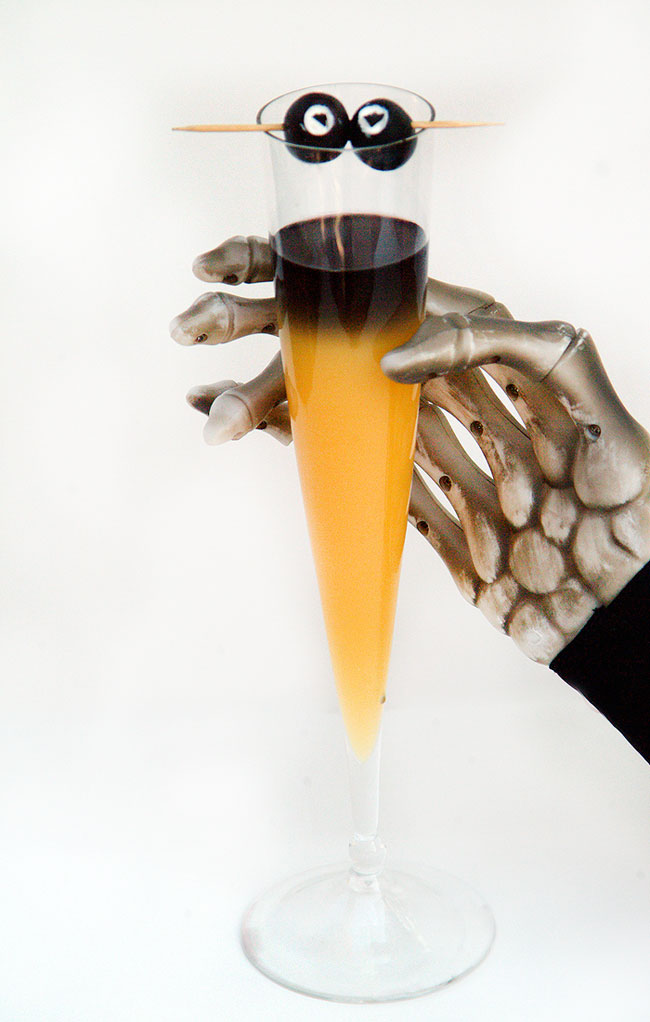
Each year I post this recipe for Goblin Mimosas which I came up with a few years ago. Black vodka, orange juice, stuffed olives… you just CAN’T go wrong! Here’s the full recipe!
· Posted in Fun Cocktails, Halloween, Parties ·
October 24th, 2013
What is Halloween without “witches” or “monster” fingers… clearly, they are a staple at any Halloween party! I guess this is why there is no shortage of witches’ fingers on the web, just google it and you will find a myriad of recipes… some made out of cookies, others out of breadsticks, I can go on and on.
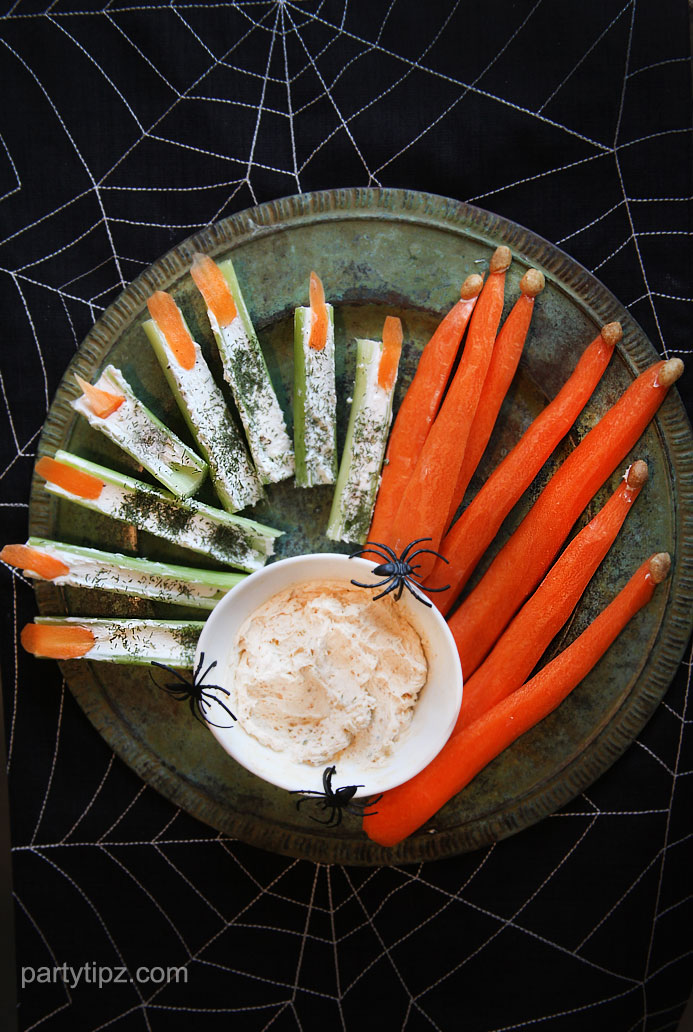
I too have come up with several “finger” recipes to add to the creative pool! Just couldn’t resist! Since my other recipes included hot dogs and cookie dough (two separate recipes… thankfully) , I thought I would contribute one more recipe which was a little more health conscious… much like a veggie platter! These monster fingers are made out of carrots and celery.
You can get really creative with the carrots when you are peeling them, making them gnarly and uneven. Use peanuts or almonds for the “nails”. There isn’t much room for creativity with the celery, but you can have some fun with the nails by making them more pointy or curly. I created a “hairy finger look” by sprinkling the celery with dill weed. Oh and the best part, they can be as ugly as you want them to be… perfection is a “no-no” with this recipe, so throw it out the window and enjoy the process.
For the filling of the celery, I used flavored cream cheese and sprinkled the top with dill weed for a “hairy” look. The nails are thinly sliced carrots. For the carrots, I simply peeled them and adhered a peanut for a gnarly nail with the cream cheese. Serve them with any dip or flavored cream cheese.
· Posted in Halloween, Parties, Recipes ·


